The Tangible Temperature of Images: Your Complete Guide to Photo Size and Resolution

I. The Warmth of Physical Images: The Translation Process from Pixels to Archival Prints
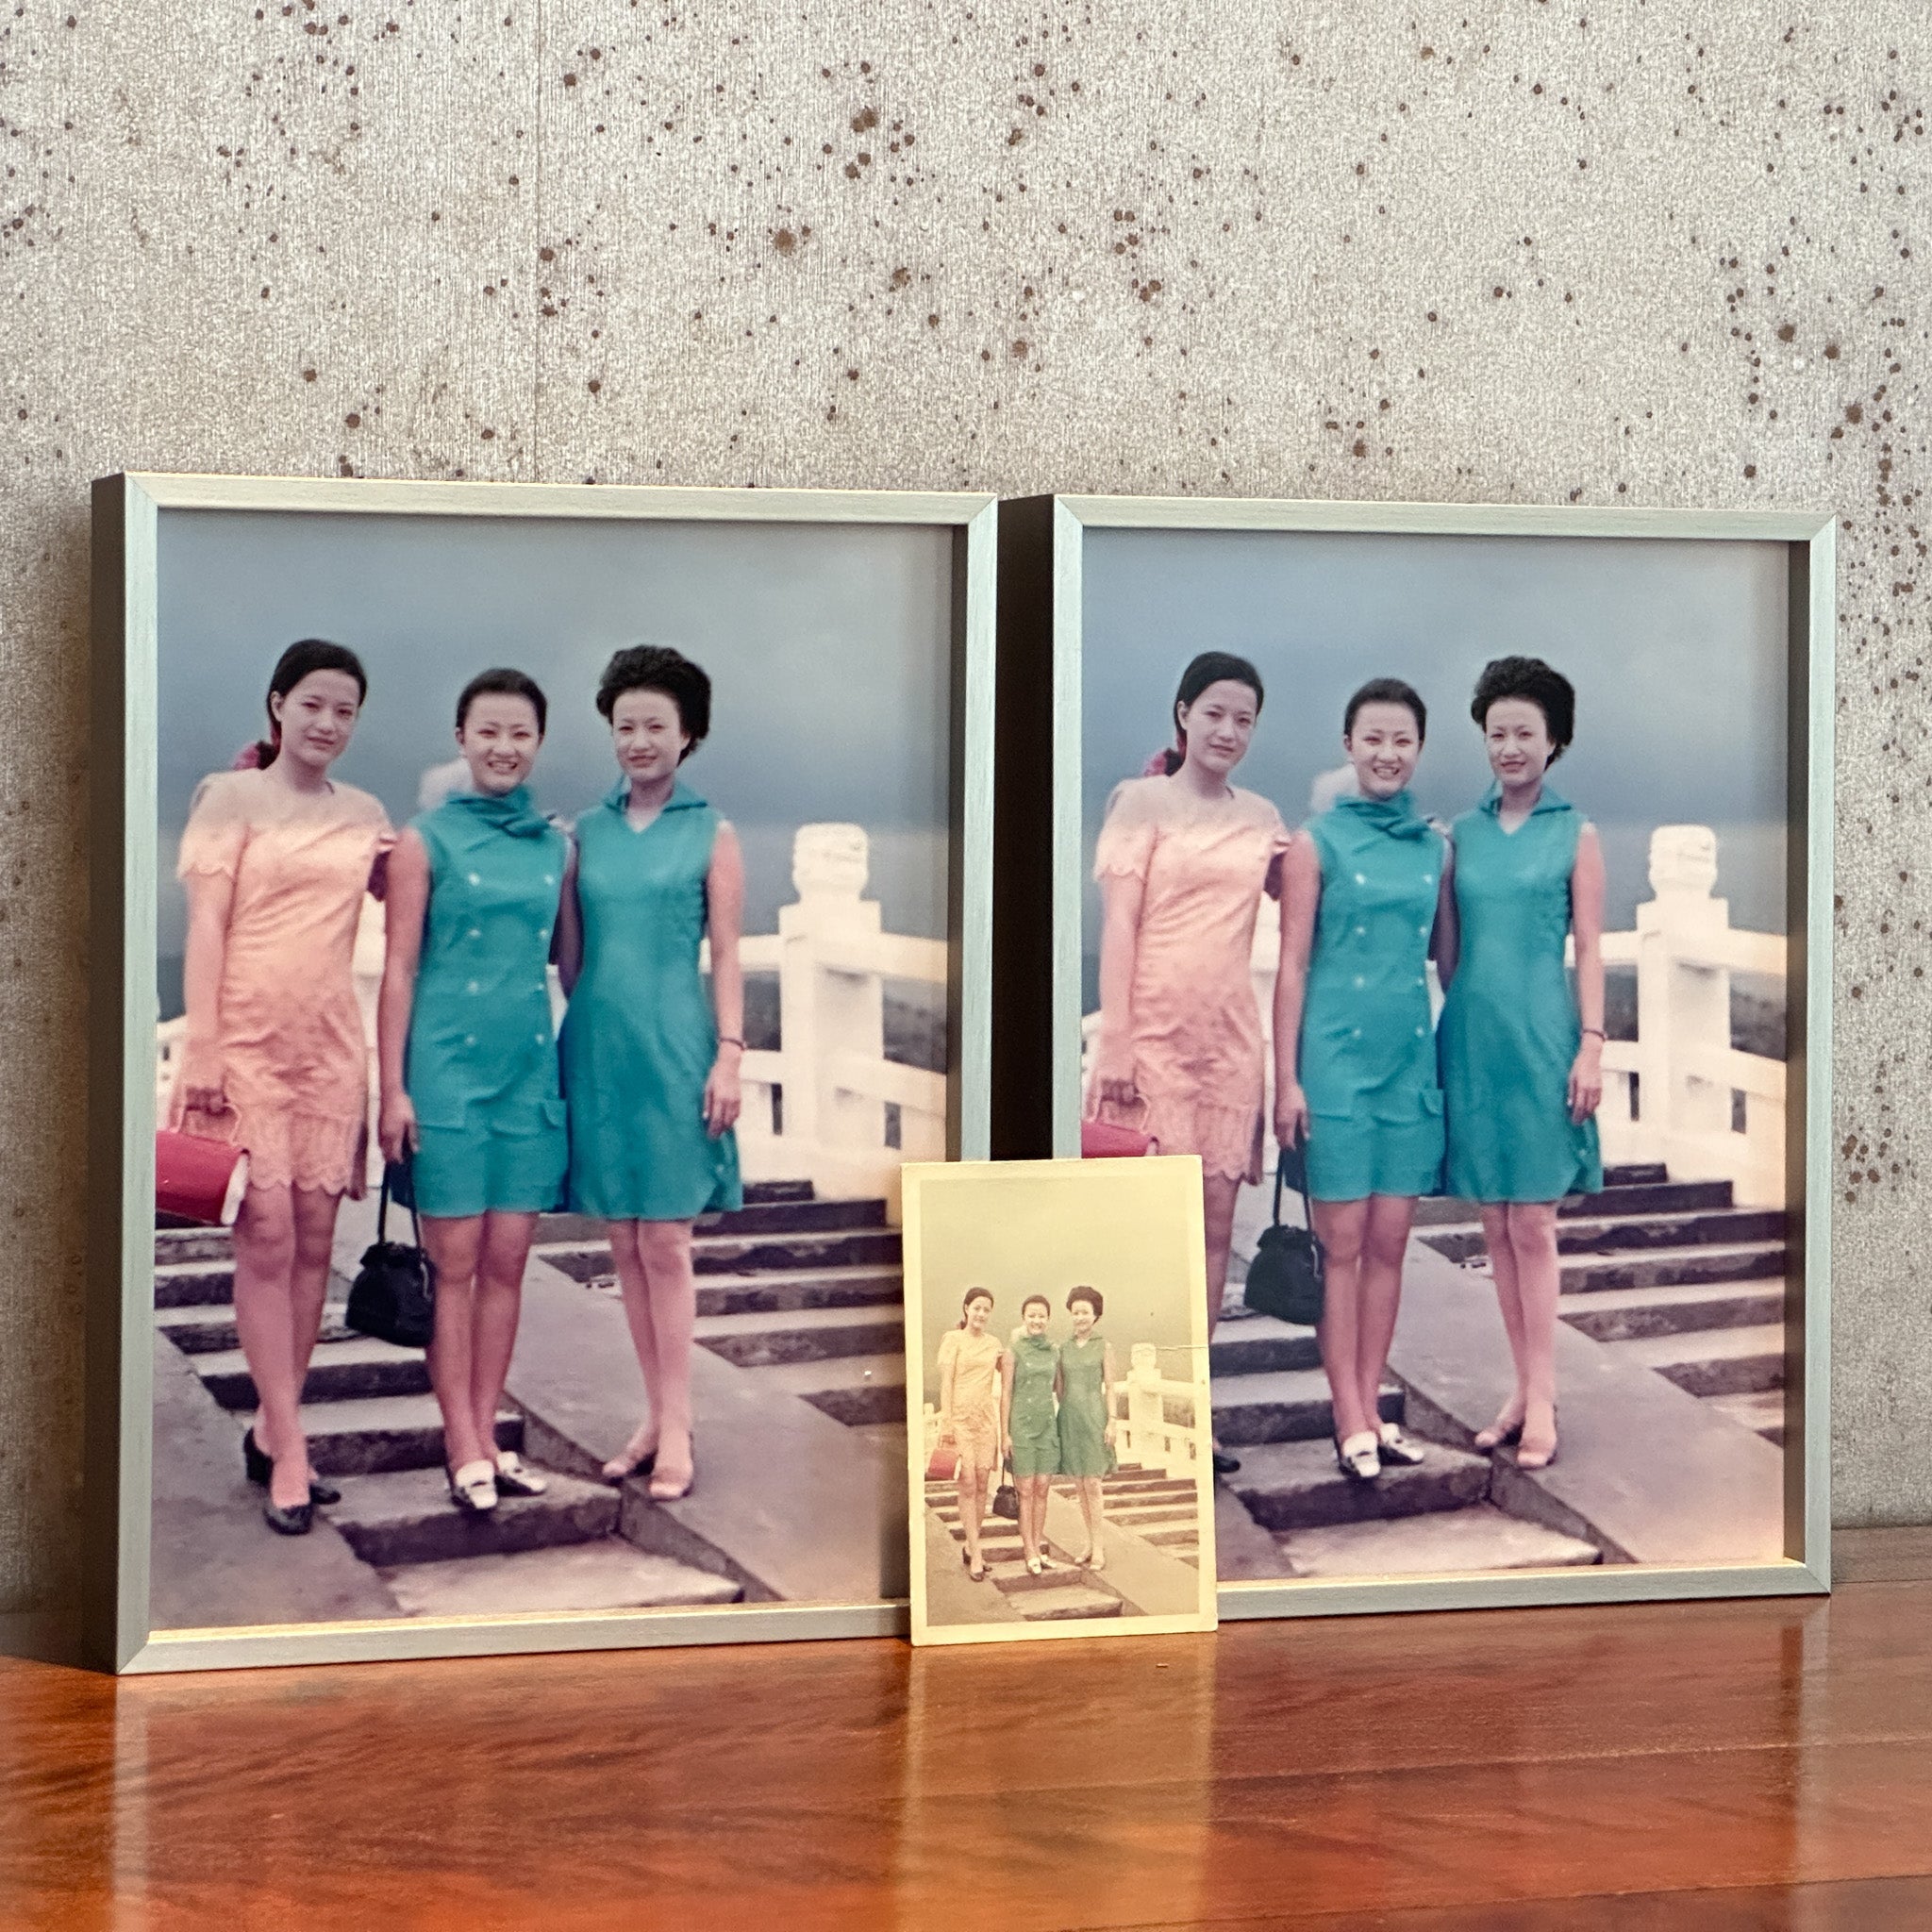
When choosing photo sizes, have you ever worried that your image might lose its original details when printed?
I am the owner of Weiss Image, and also an image creator. I completely understand the desire to "perfectly present a labor of love in the highest quality and in a way that best fits the space." At the same time, I also hope that these works, once hung on the wall, can be easily maintained and enjoyed for a long time.
Transforming a digital file into a tangible, warm physical photo is actually a delicate translation process. We need to ensure that the underlying data of the image is solid enough to faithfully reproduce the emotion captured at the moment of shooting. This article will help you understand common photo sizes and resolutions. You can also scroll directly to the 【Online Image Resolution Detection Tool】 below, and let us ensure the quality of your work.
II. Basic Knowledge: Key Data Affecting Image Quality
Pixels are like the foundational ingredients of an image. Similar to the number of pieces in a jigsaw puzzle, the more pieces there are, the greater the potential for detail.
Resolution (DPI) determines the density of the image. This dictates whether the printed photo appears delicate or grainy. It's like a high-quality fabric: the tighter the weave of the yarn, the smoother the visual and tactile experience. When your image has sufficient DPI, it can effortlessly display rich layers when printing large-sized photos.
Low Resolution
Larger blocks, loss of detail
High Resolution (High DPI)
Dense and smooth, faithfully restored
III. Data Measurement: How Large Can My Image Be Faithfully Displayed?
Accurate assessment is the first step to ensuring quality. To prevent creators from holding back due to resolution concerns, we have developed a professional online image detection tool. We invite you to follow the steps below, upload your original photo file, and select your desired size. The system will perform real-time data measurement for you.
Upload the original photo file you want to print
Enter your desired size (cm/inch)
Instantly get a professional resolution report
Online Image Resolution Detection Lab
Perfect quality, suitable for output at your specified size. Should effortlessly display rich details.
Meets basic requirements. Quality can be significantly enhanced with professional image enhancement techniques to補足細節。
Insufficient data to support this size; direct printing may result in blurriness. Requires evaluation by a professional.
IV. Helping You Find the Most Suitable Image Medium
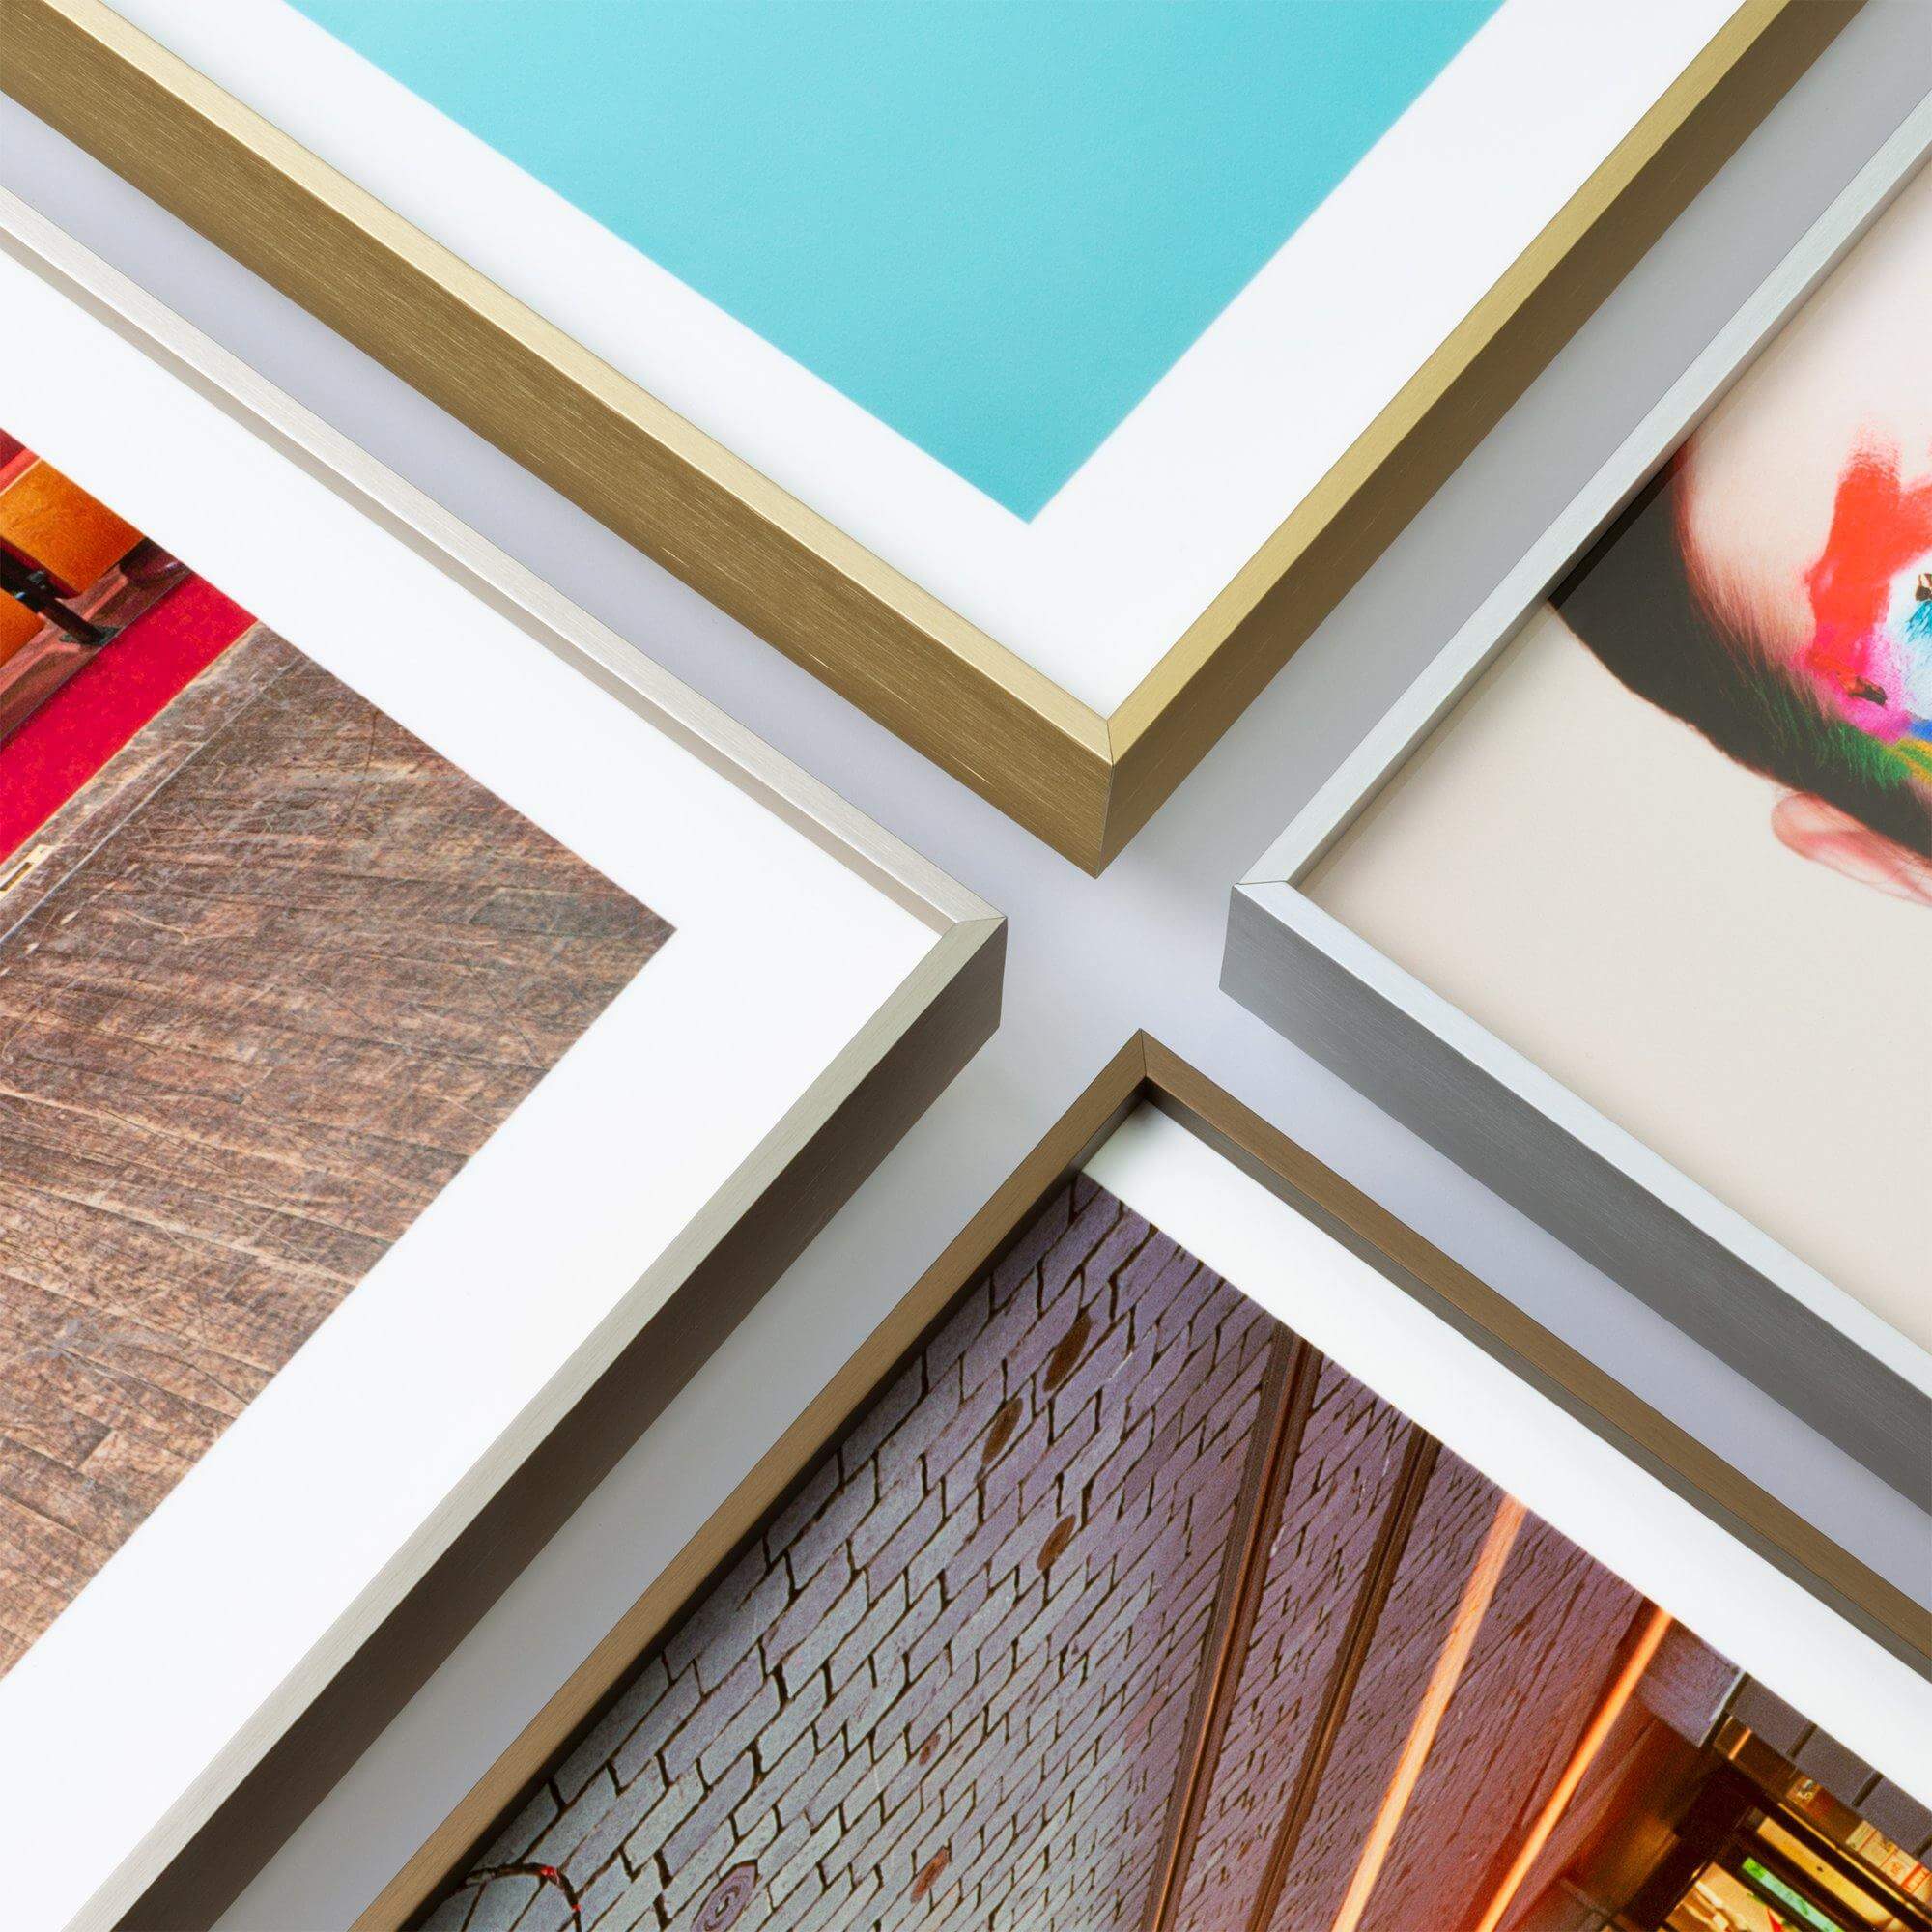
If, through the tool above, you confirm that your image has sufficient resolution for large-format output, the next important decision is the material. At Weiss Image, we hope to help you find the most suitable medium to perfectly match your artwork with your space's aesthetic.
The warmth of canvas and the brilliance of metal represent different imaging technologies. In addition to deciding on the material, if you also want a comprehensive understanding of various output techniques on the market, from traditional photo labs to modern art galleries, we have compiled a complete overview for you:
"Developing Photos or Printing Photos? A Complete Analysis of Taiwan's 5 Major Printing Channels and Image Output Technologies"We hope this comprehensive summary will accompany you in appreciating the craftsmanship behind each image with a clearer perspective.
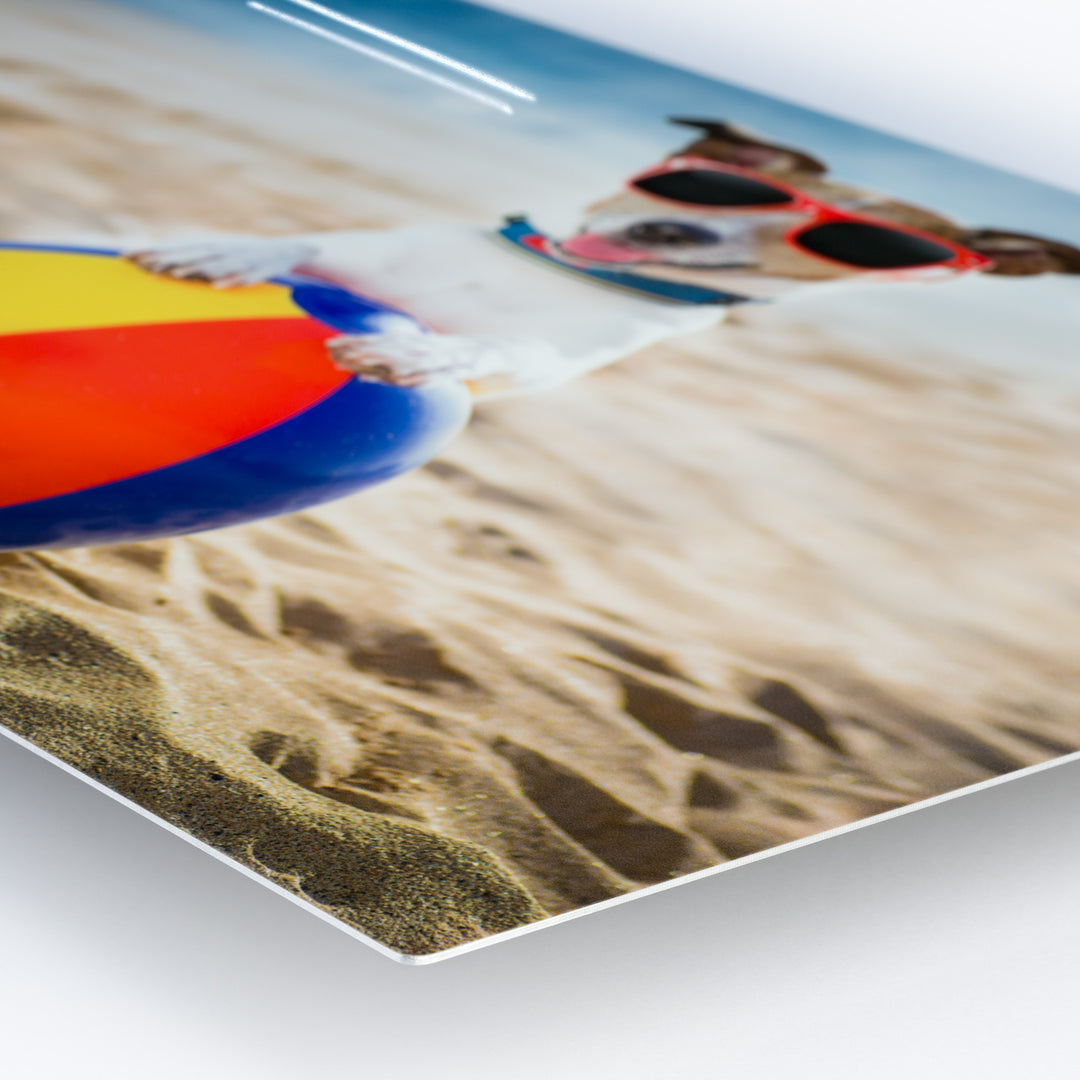
If you prefer the warm feel of traditional paper and classic framing, Giclée prints with frames would be an excellent choice. If, like me, you appreciate a sleek, frameless design, desire extremely lightweight large-scale works on your walls, and expect maintenance to be as easy as wiping glass, then ChromaLuxe® metal prints, with their unique luster and moisture-resistant, scratch-proof properties, might be the perfect solution for your space.

Effortless Daily Cleaning: Taiwan's climate is hot and humid, and traditional photo paper often yellows and molds after a few years. The special surface treatment of metal prints allows you to spray and wipe directly with alcohol, easily handling moisture and dust. This "inherent stability of the material" is why we have such confidence in this craft.
The classic framing of traditional paper and the ultra-lightweight, frameless sleekness of ChromaLuxe® metal prints each possess unique spatial aesthetics. As a creator, how should one choose based on the style of the work and exhibition needs?
"【Image Output Guide】Giclée Prints vs. Metal Prints, Which Should Creators Choose?"We will start from a creator's true perspective and help you objectively evaluate the material characteristics, visual presentation, and maintenance differences of both.
V. Latest Photo Printing Sizes and Required Pixel Comparison Chart
Camera Pixels and Output Limit Reference
If you are using a digital camera, the following provides the practical output limits corresponding to common total pixels, helping you prepare for future exhibitions at the time of shooting:
| Camera Specification | Optimal Size (300 DPI) | Extreme Size (150 DPI) | Professional Suggestion |
|---|---|---|---|
| 12 Million Pixels | 25x33cm (approx. 10x13 inches) | 50x66cm (approx. 20x26 inches) | Best for casual snapshots and small-scale documentation |
| 48 Million Pixels | 50x66cm (approx. 20x26 inches) | 100x130cm (approx. 40x52 inches) | Recommended to shoot in ample light to retain maximum detail |
Common Photo Size Comparison Chart (2x3 ~ A1)
| Photo Size | Centimeters (Approx.) | Optimal Quality (300 DPI) | Acceptable Quality (150 DPI) |
|---|---|---|---|
| 2x3 Inches | 5.1 x 7.6 | 600 x 900 | 300 x 450 |
| 3.5x5 Inches (3R) | 8.9 x 12.7 | 1050 x 1500 | 525 x 750 |
| 4x6 Inches (4R) | 10.2 x 15.2 | 1200 x 1800 | 600 x 900 |
| 5x7 Inches (5R) | 12.7 x 17.8 | 1500 x 2100 | 750 x 1050 |
| 6x8 Inches (6R) | 15.2 x 20.3 | 1800 x 2400 | 900 x 1200 |
| 8x10 Inches (8R) | 20.3 x 25.4 | 2400 x 3000 | 1200 x 1500 |
| 8x12 Inches | 20.3 x 30.5 | 2400 x 3600 | 1200 x 1800 |
| A4 | 21.0 x 29.7 | 2480 x 3508 | 1240 x 1754 |
| 12x16 Inches | 30.5 x 40.6 | 3600 x 4800 | 1800 x 2400 |
| 12x18 Inches | 30.5 x 45.7 | 3600 x 5400 | 1800 x 2700 |
| A3 | 29.7 x 42.0 | 3508 x 4961 | 1754 x 2480 |
| 16x20 Inches | 40.6 x 50.8 | 4800 x 6000 | 2400 x 3000 |
| 16x24 Inches | 40.6 x 61.0 | 4800 x 7200 | 2400 x 3600 |
| A2 | 42.0 x 59.4 | 4961 x 7016 | 2480 x 3508 |
| 20x30 Inches | 50.8 x 76.2 | 6000 x 9000 | 3000 x 4500 |
| A1 | 59.4 x 84.1 | 7016 x 9933 | 3508 x 4967 |
VI. Common Frameless Print FAQs
There are so many photo print sizes, how do I choose? +
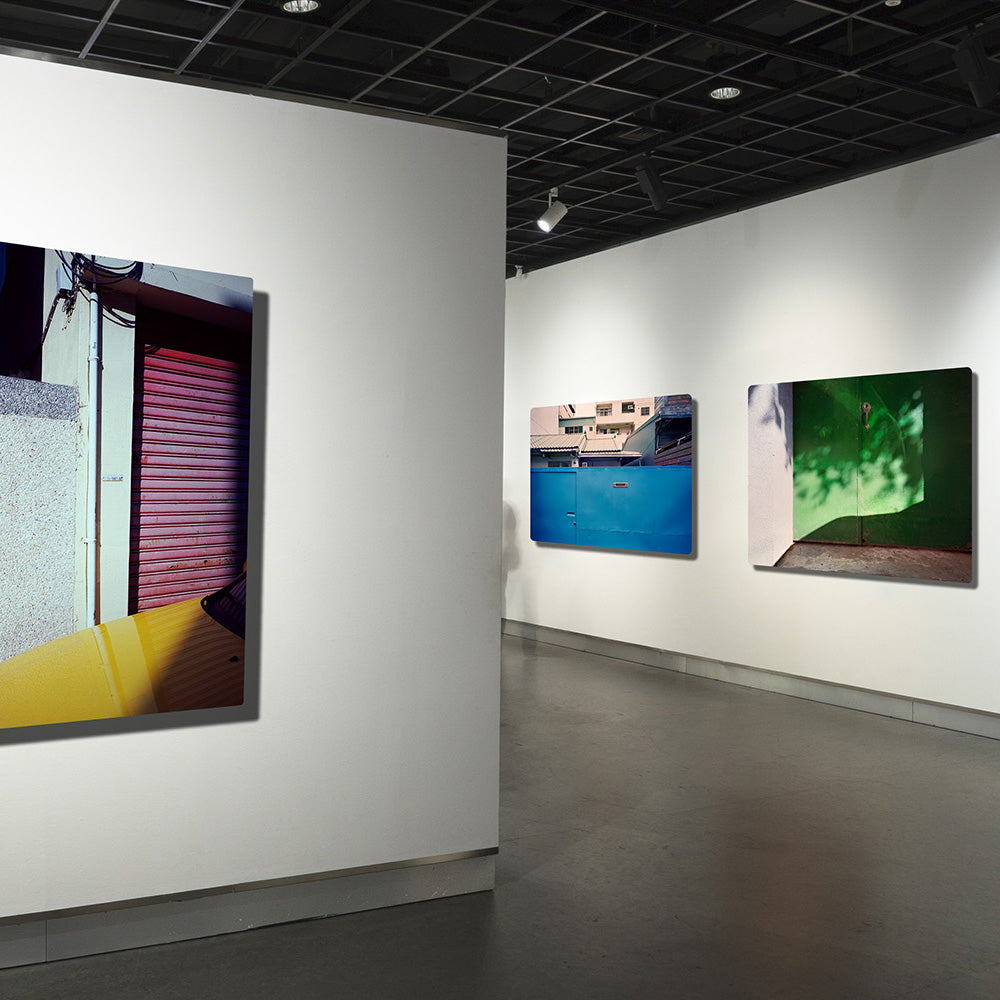
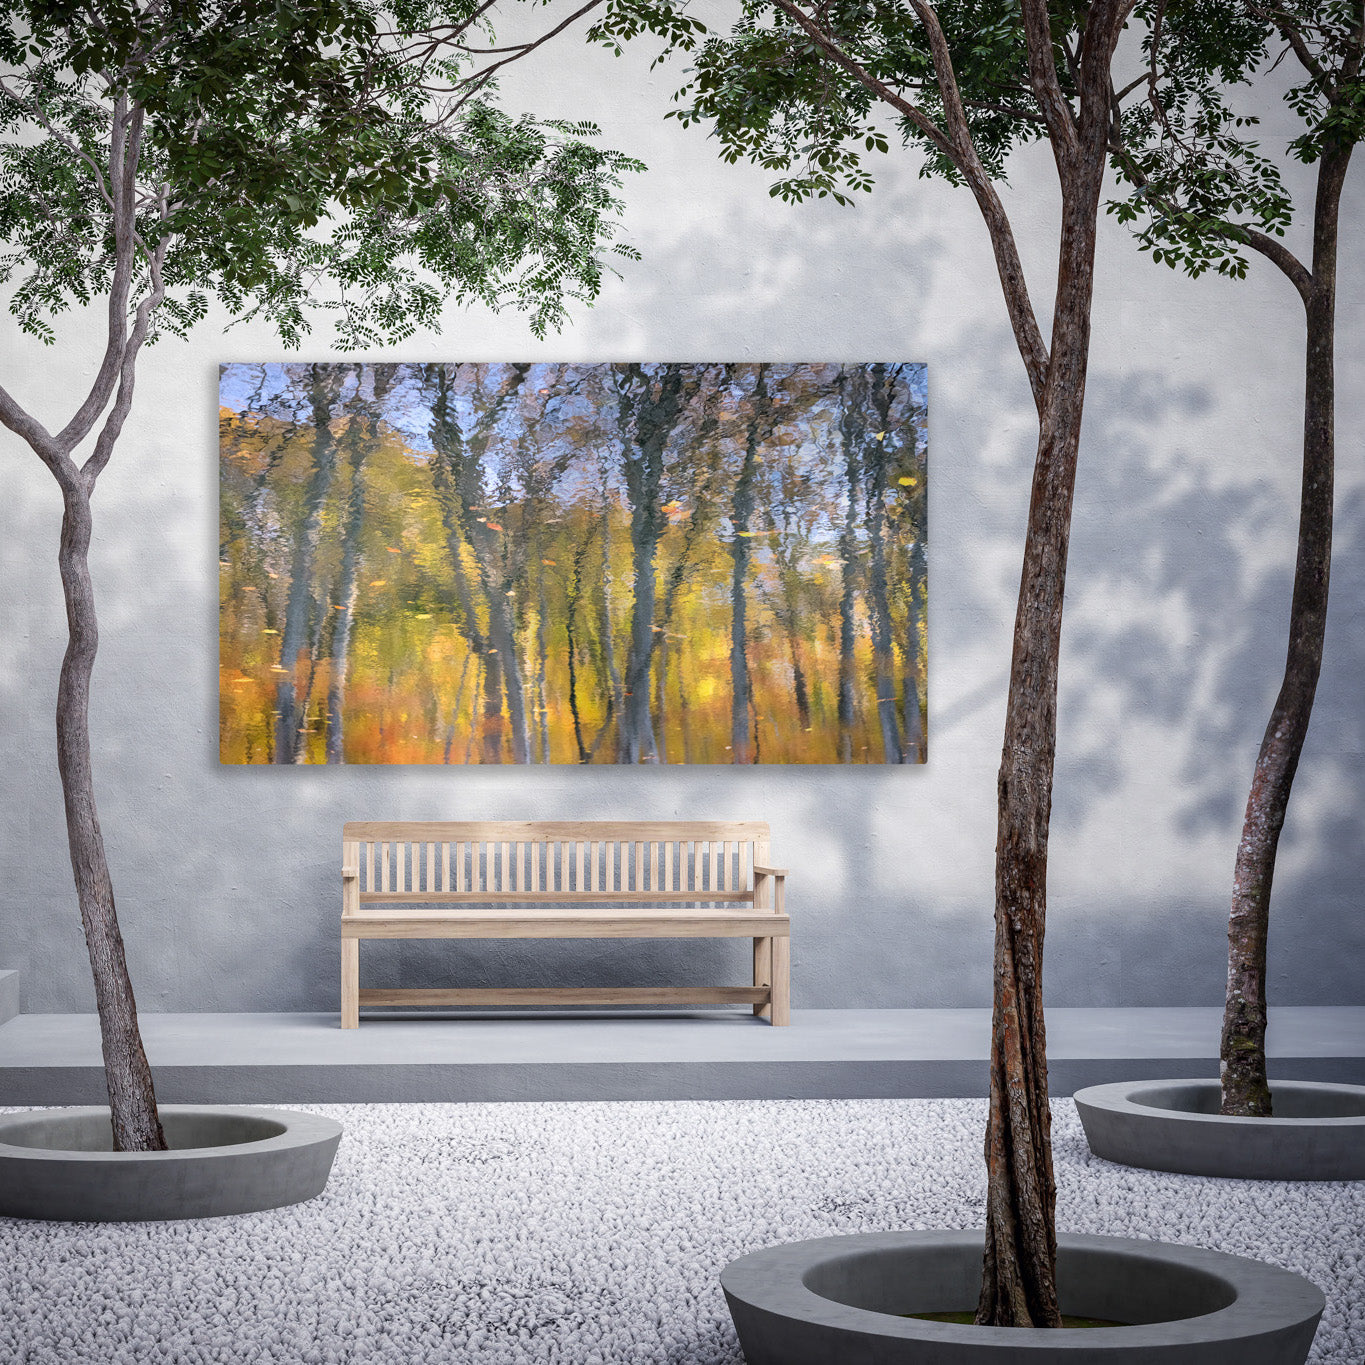
We recommend deciding based on "display space" and "artistic intent." Rather than blindly pursuing large sizes, finding the proportion that best suits the space is more important. For example, 8x10 inches is perfect for frameless display on a desk or in an entryway, while 16x24 inches is an ideal choice for the wall behind a living room sofa. After deciding on the size, simply upload your image through our online system to instantly check if the resolution meets the requirements.
Can everyday photos taken with a phone also be printed as large frameless prints? +
Absolutely, as long as you retain the original file. Modern phone cameras already have very high pixel counts. To put your mind at ease, our product ordering page has a built-in automatic protection mechanism: when you upload an image file, the system instantly checks the resolution. If the file data is too small to support the selected size, the system will provide a friendly warning. At this point, you can choose a smaller size, or click on the 《Free Image Health Check Service》 at any time to have a professional evaluate whether the image quality can be optimized through professional image enhancement techniques.
What if the photo aspect ratio doesn't match traditional frame sizes? Will the image be cropped? +
Cropping is an inevitable physical phenomenon if the image aspect ratio does not match the output size. Most mobile phones default to a 4:3 ratio, while popular off-the-shelf frames are often 3:2, which inevitably sacrifices some of the image's edges. To prevent your precious work from being blindly sacrificed by the system, we have prepared an exclusive "Online Real-time Preview System" for you. Before deciding to print, you can personally preview and decide which details to retain. If you feel the cropped composition is not perfect, you can always calmly change the photo or directly choose the most suitable frameless print size for this image, no longer limited by existing frames.
Why does it look clear on a phone screen, but potentially blurry when printed physically? +
The key lies in the different standards of "pixel density." Screen display only requires a very low PPI to deceive the eye, but top-quality physical photos require a solid density of 150 to 300 DPI. This discrepancy in data is the main reason for blurry physical prints. If you are unsure whether your current file can cross this threshold, please don't fret alone. Feel free to book our 《Free Image Health Check Service》 at any time, and our professionals will personally review your original file to confirm the true image quality behind the data.
Does Taiwan's hot and humid climate affect the preservation of large-sized photos? +
Yes, it does, and corresponding climate countermeasures must be taken based on the material. If you choose traditional paper and frames, special attention must be paid to dehumidification and protection of the environment (suggested reading: 《What to Do About Moldy and Faded Paper Photos? 8 Degradation Phenomena and Moisture-Proof Solutions》); if you choose ChromaLuxe® metal prints, due to their inherent excellent weather resistance and waterproof properties, they can significantly reduce maintenance worries caused by the climate, allowing your artwork to become a long-lasting archival piece across generations.
May every one of your creations find the most suitable size and material.
And gracefully integrate into your living space. From the moment you entrust us with your files, you are giving us more than just pixels; you are giving us your trust. We will guard the pure stories behind each image with the empathy of a creator and the insight of a craftsman.