[DIY Framing Tutorial] Simple steps to complete professional-grade picture frame assembly
Say goodbye to the high cost and waiting time of traditional framing and enhance the collection value of your works
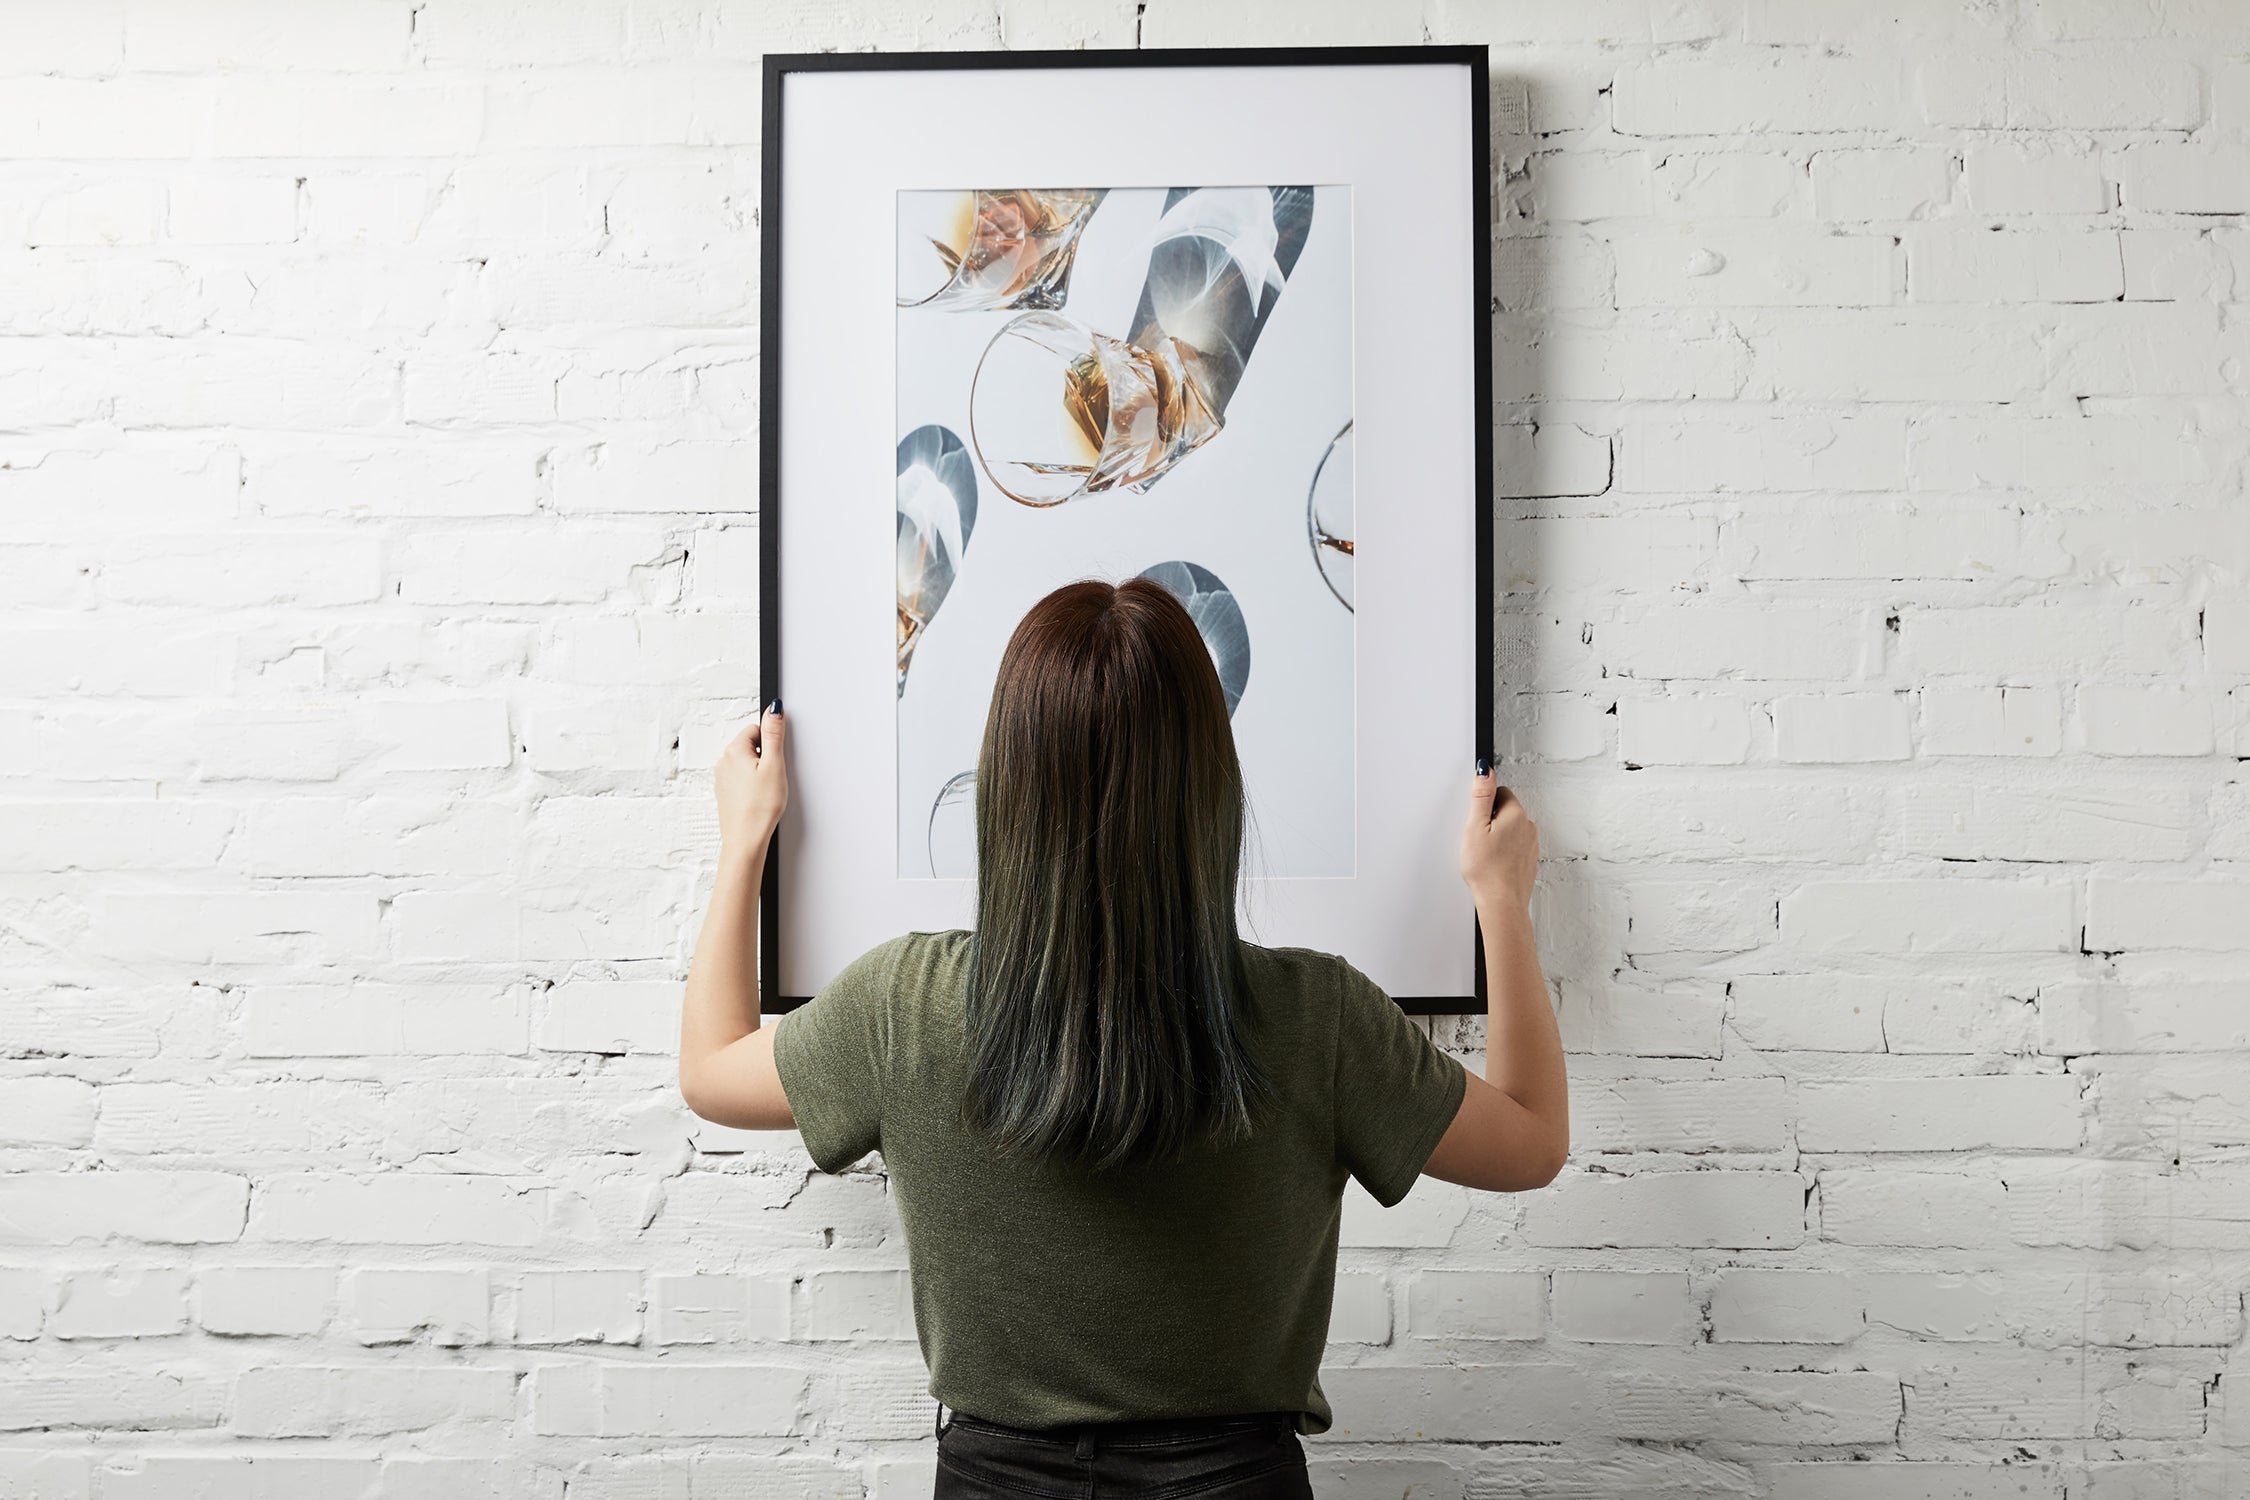
Do you have a painting, poster or photograph in your drawer that is of great significance but has yet to be hung on the wall?
We completely understand. Traditional framing can be a daunting experience, with long wait times, opaque costs, and even the worry of damaging your precious work during shipping.
Now you have a more secure and fulfilling option. Weisi Imaging's DIY framing solution not only provides you with high-quality modern aluminum frames, but also invites you to personally complete the final step of protecting and enhancing your work.
This article will guide you through detailed graphic steps to easily complete professional-level framing, allowing you to experience the joy of personally improving the quality of your work from scratch.
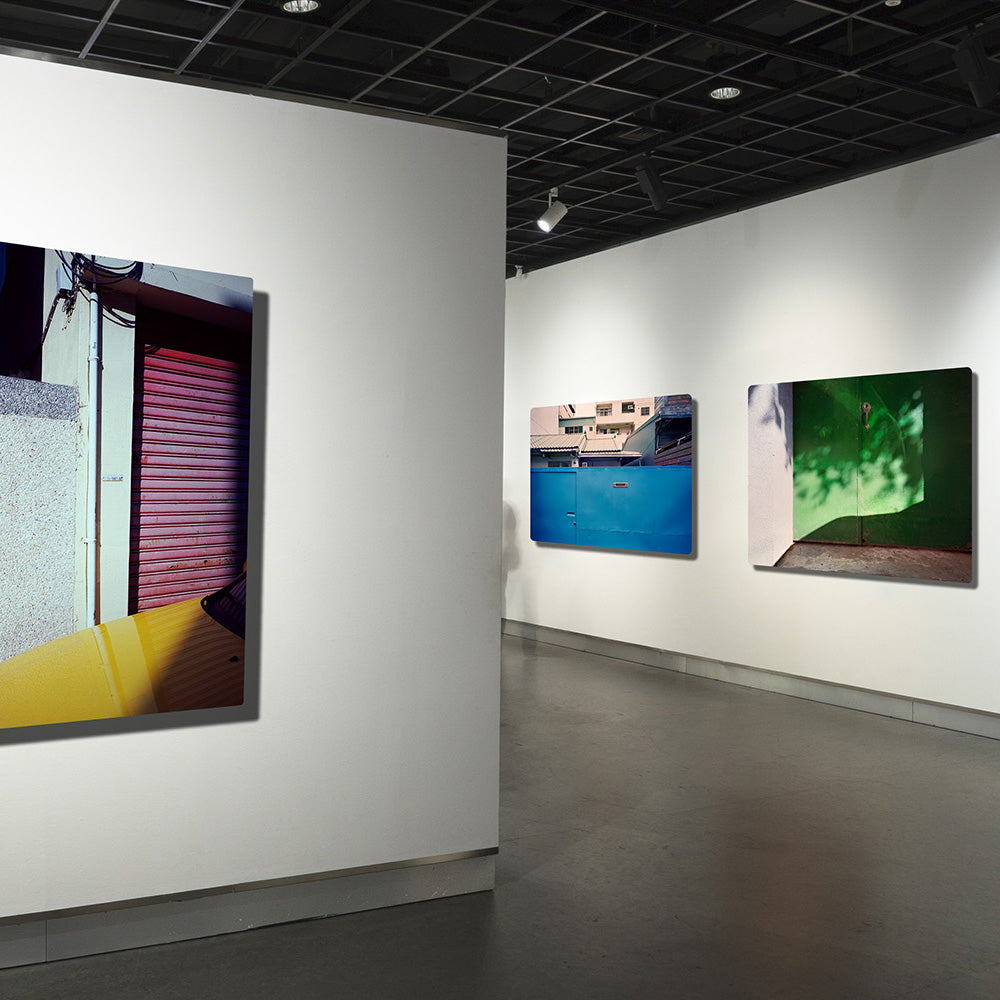
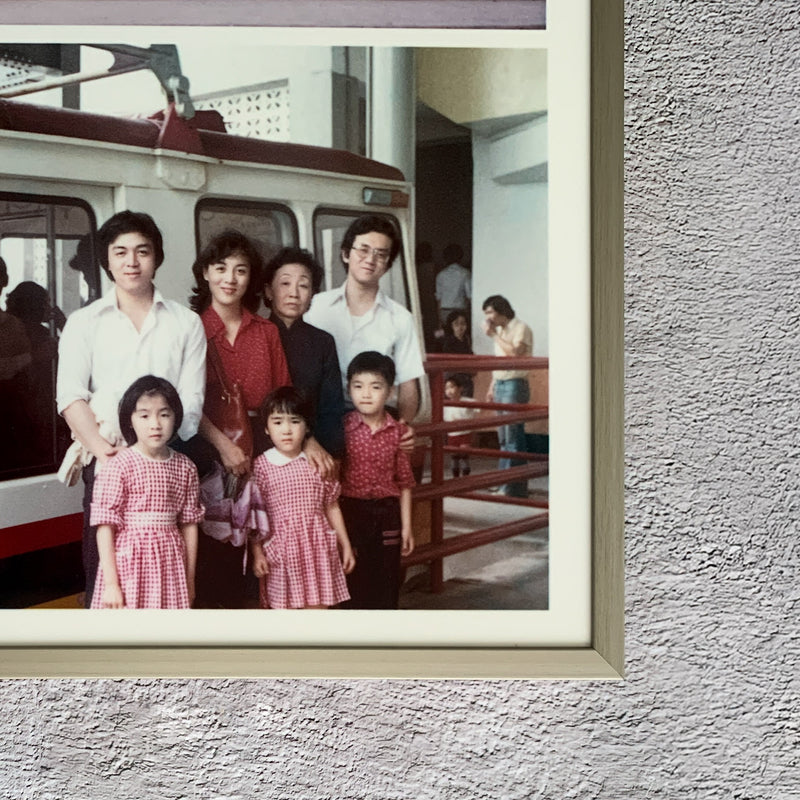
Before we dress your work in new clothes, we would like to invite you to appreciate this exquisite work from Weisi Image.
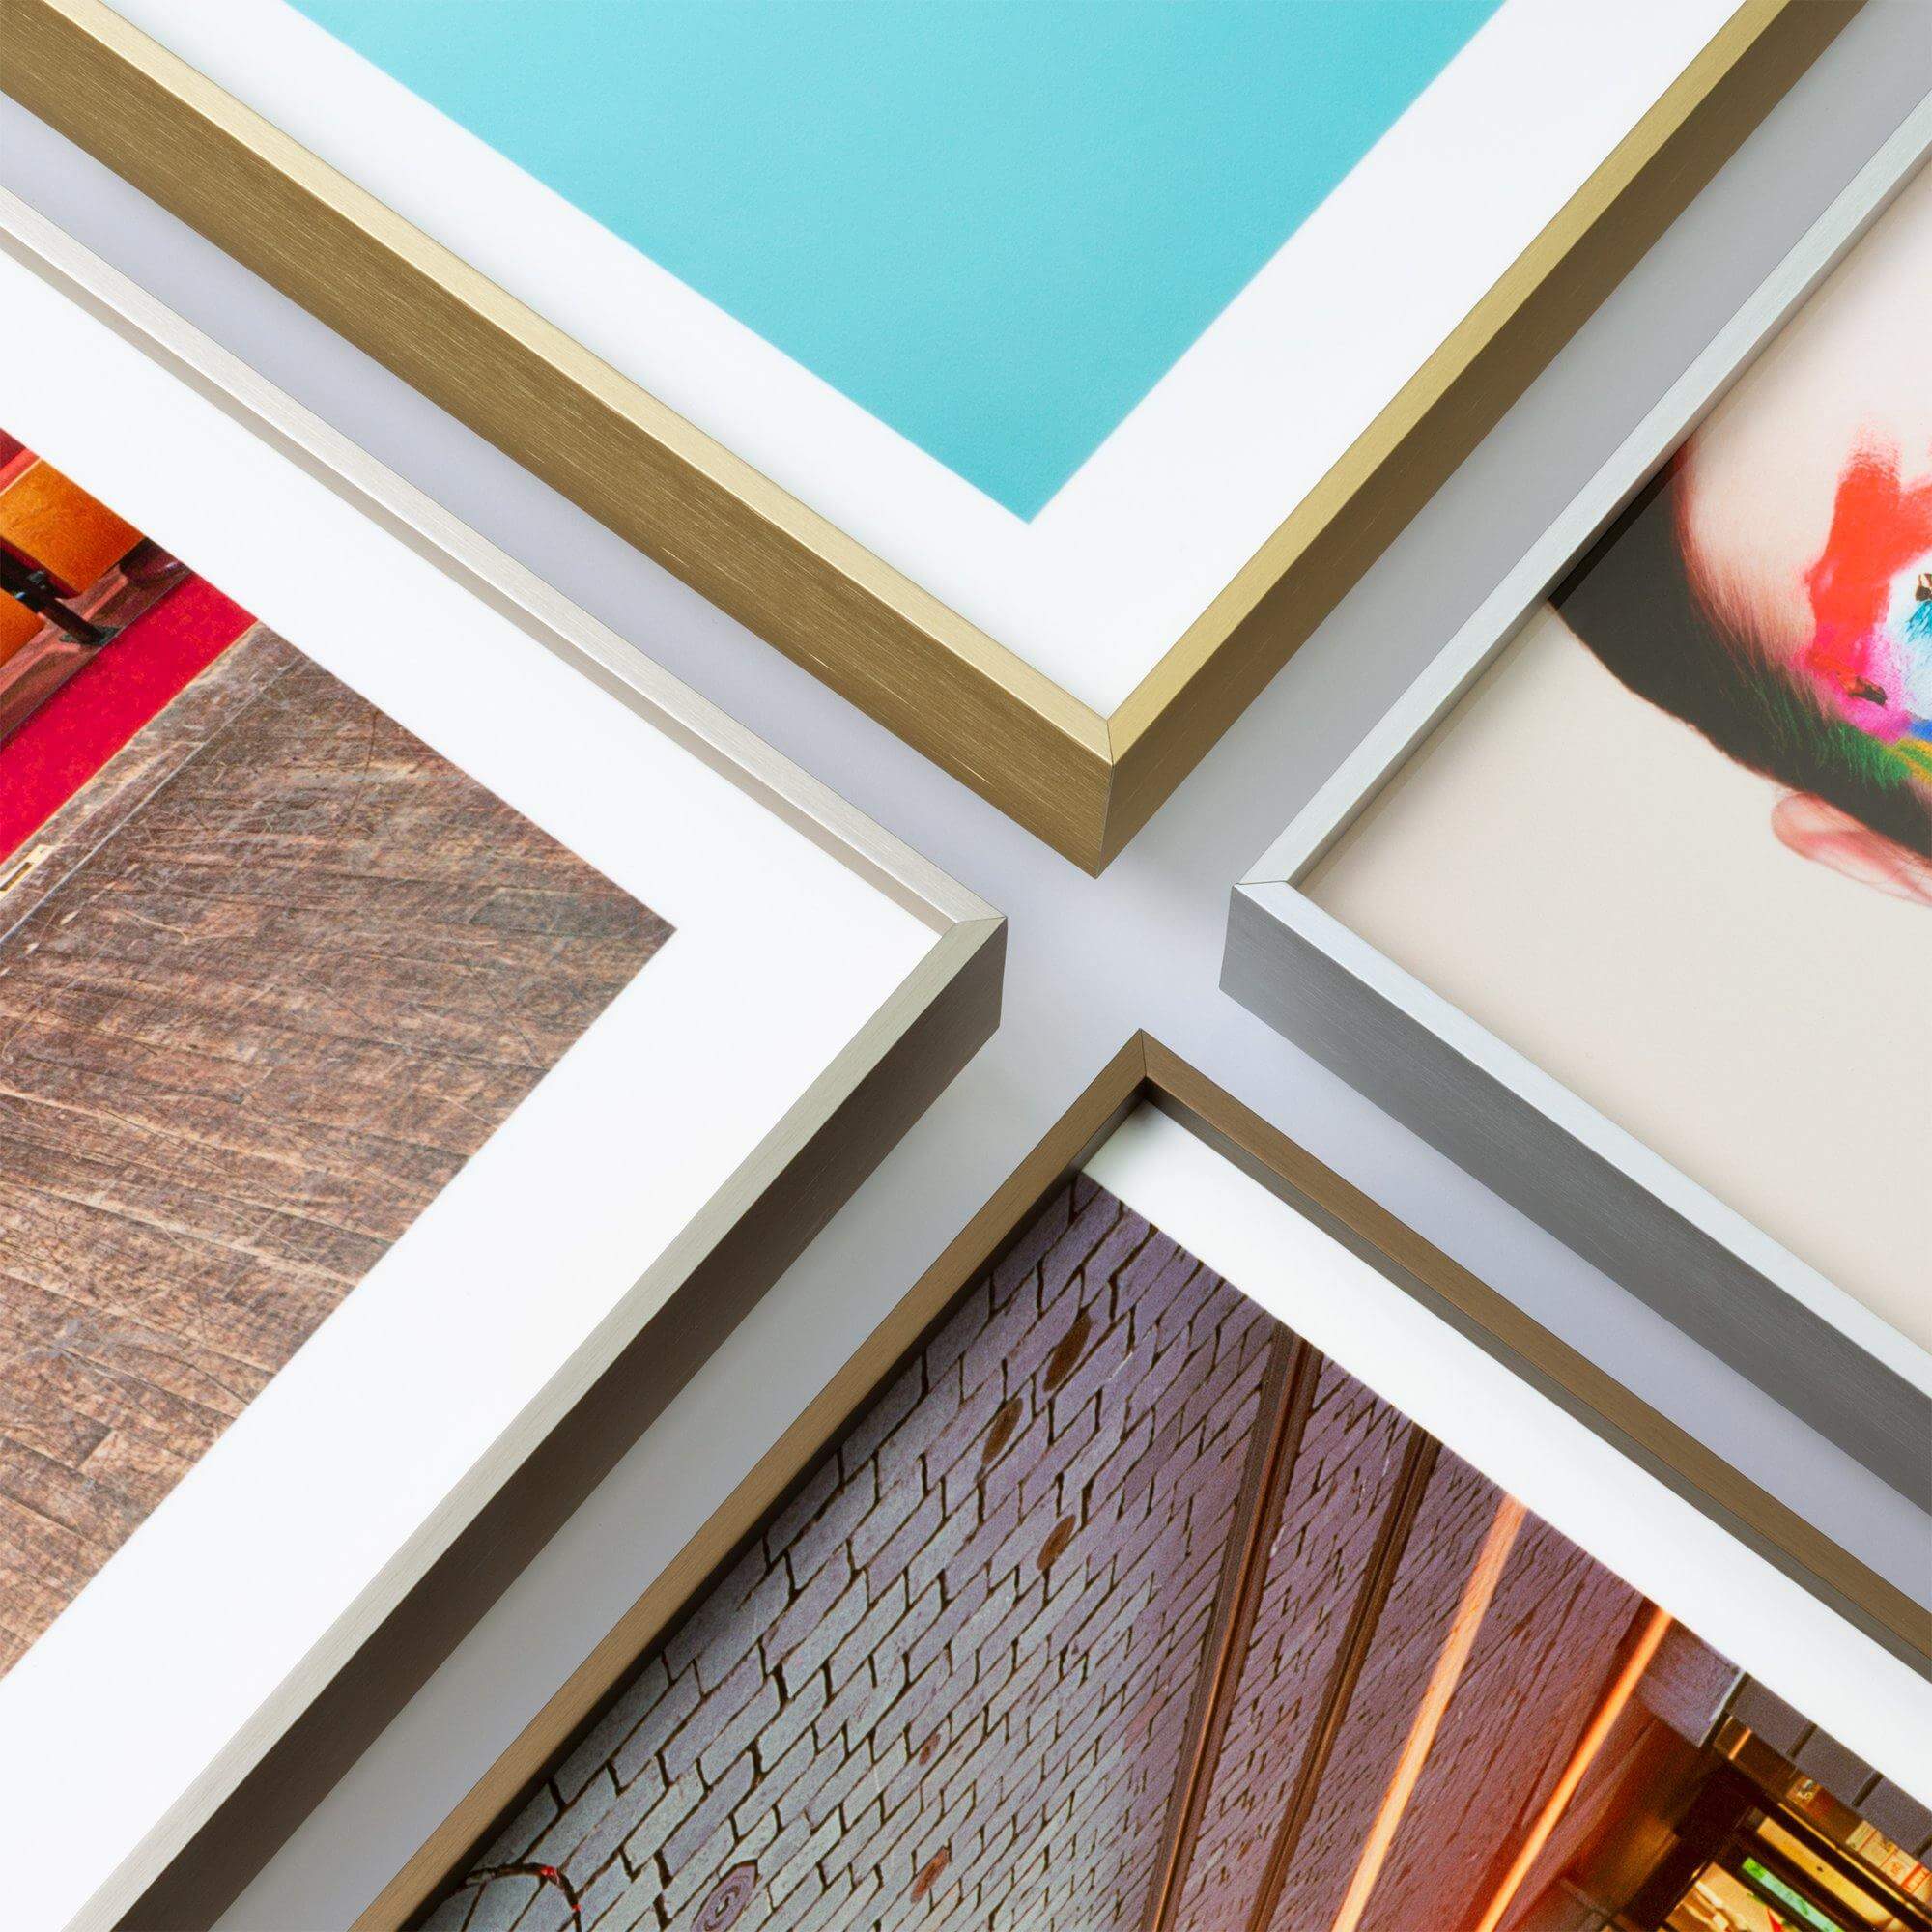
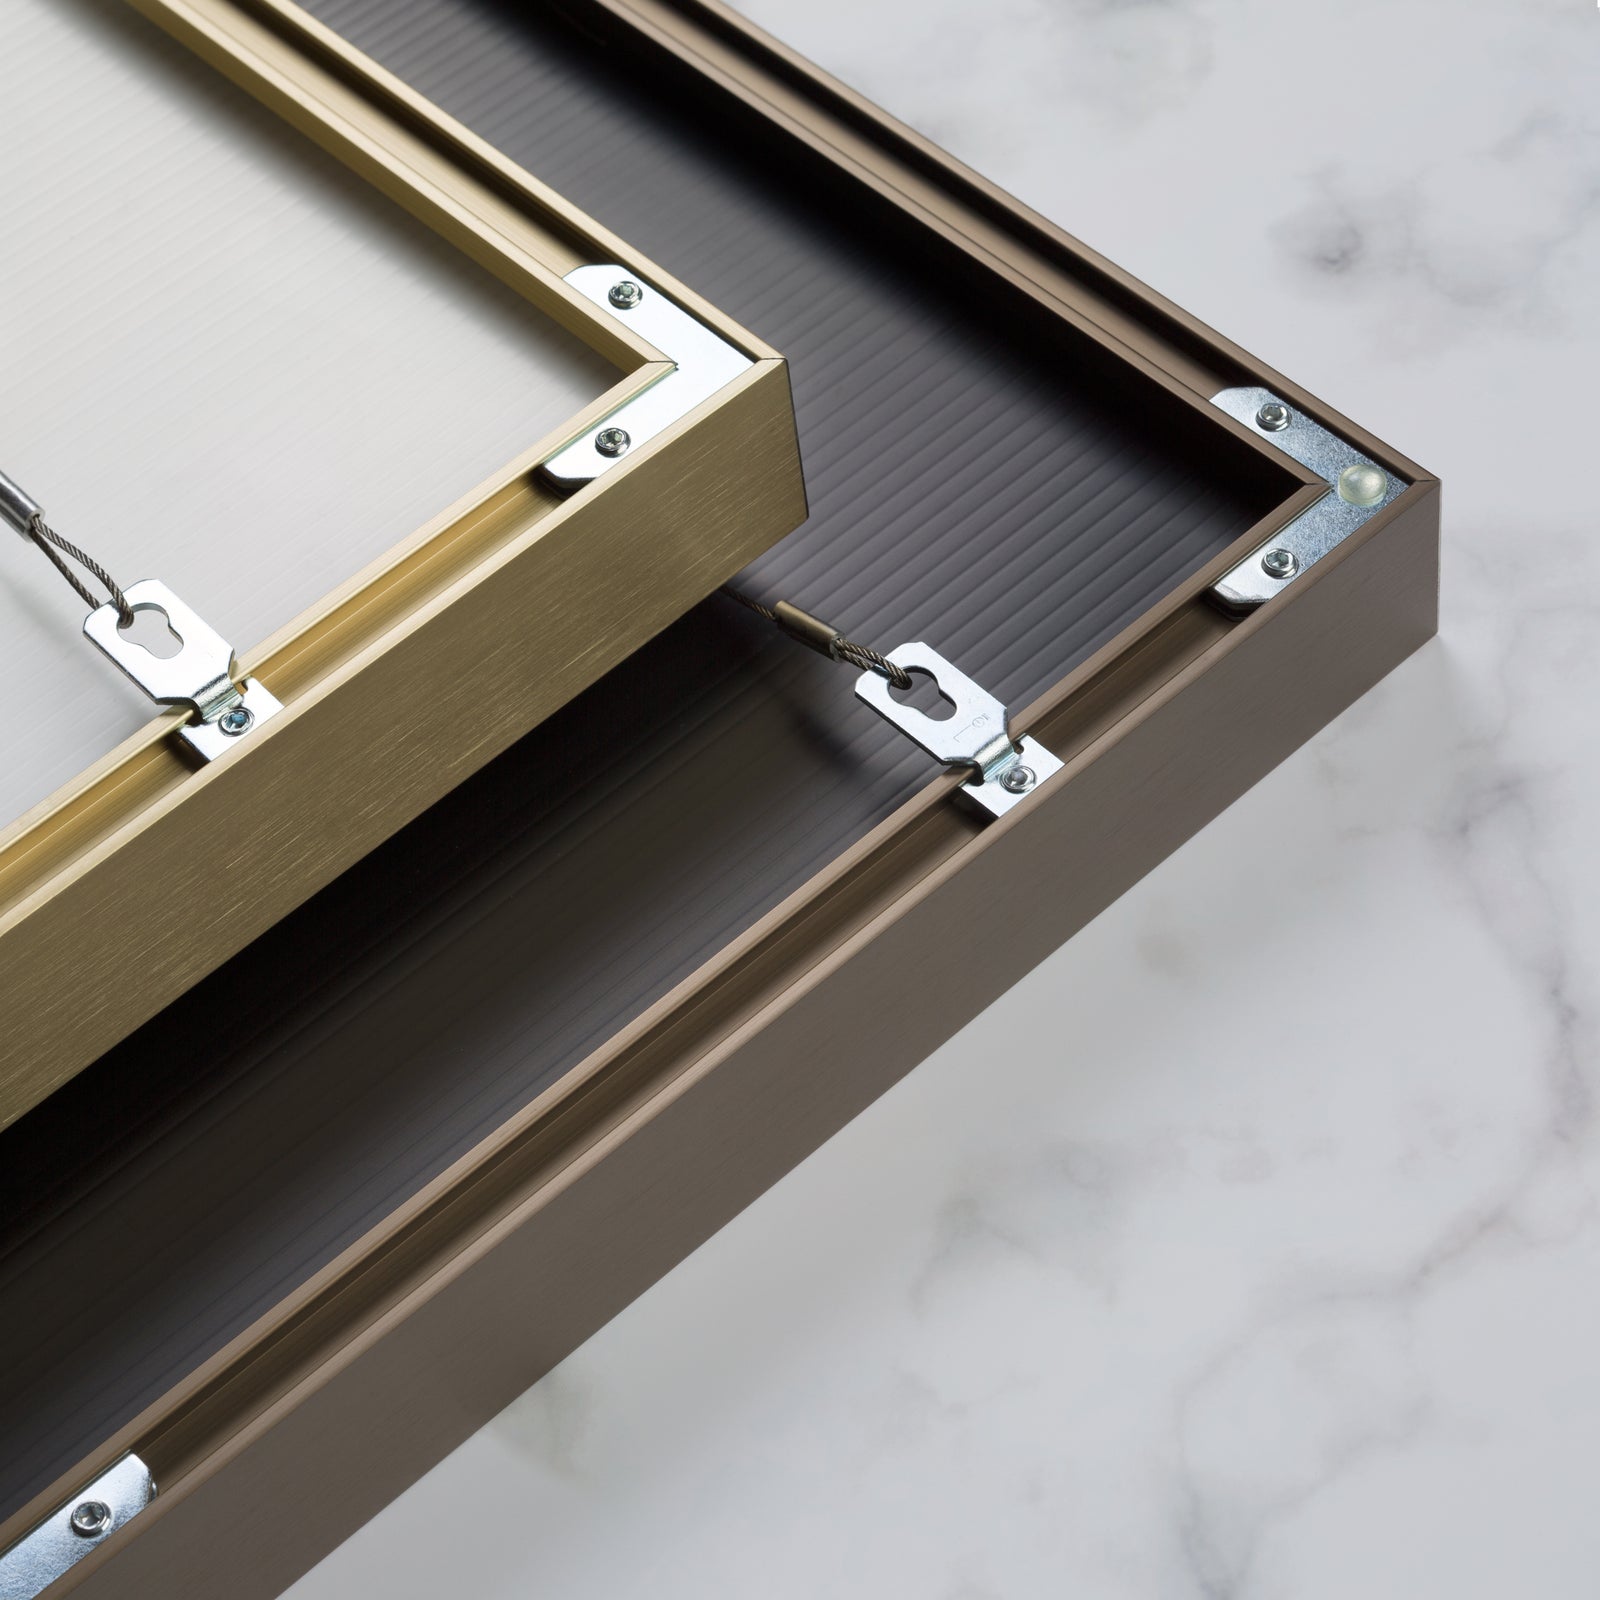
All frame strips are crafted from high-quality aluminum, a material we trust for its structural toughness and stability. Cutting at a 45-degree angle ensures a seamless visual connection between the frames, creating a sleek, modern aesthetic.
Inside the frame, you can choose from high-transmittance, European-imported PET transparent acrylic panels. Alternatively, you can purchase a neutral cardboard backing to minimize environmental impact. This is not only about aesthetics, but also our commitment to the long-term protection of your precious artwork.
From the source of materials to the details of the finished product, this is the standard that Weisi Imaging adheres to.
DIY photo frame installation: Steps to put your work into the frame
With just a few simple steps, you can easily frame and display your favorite photos and paintings to decorate your space.
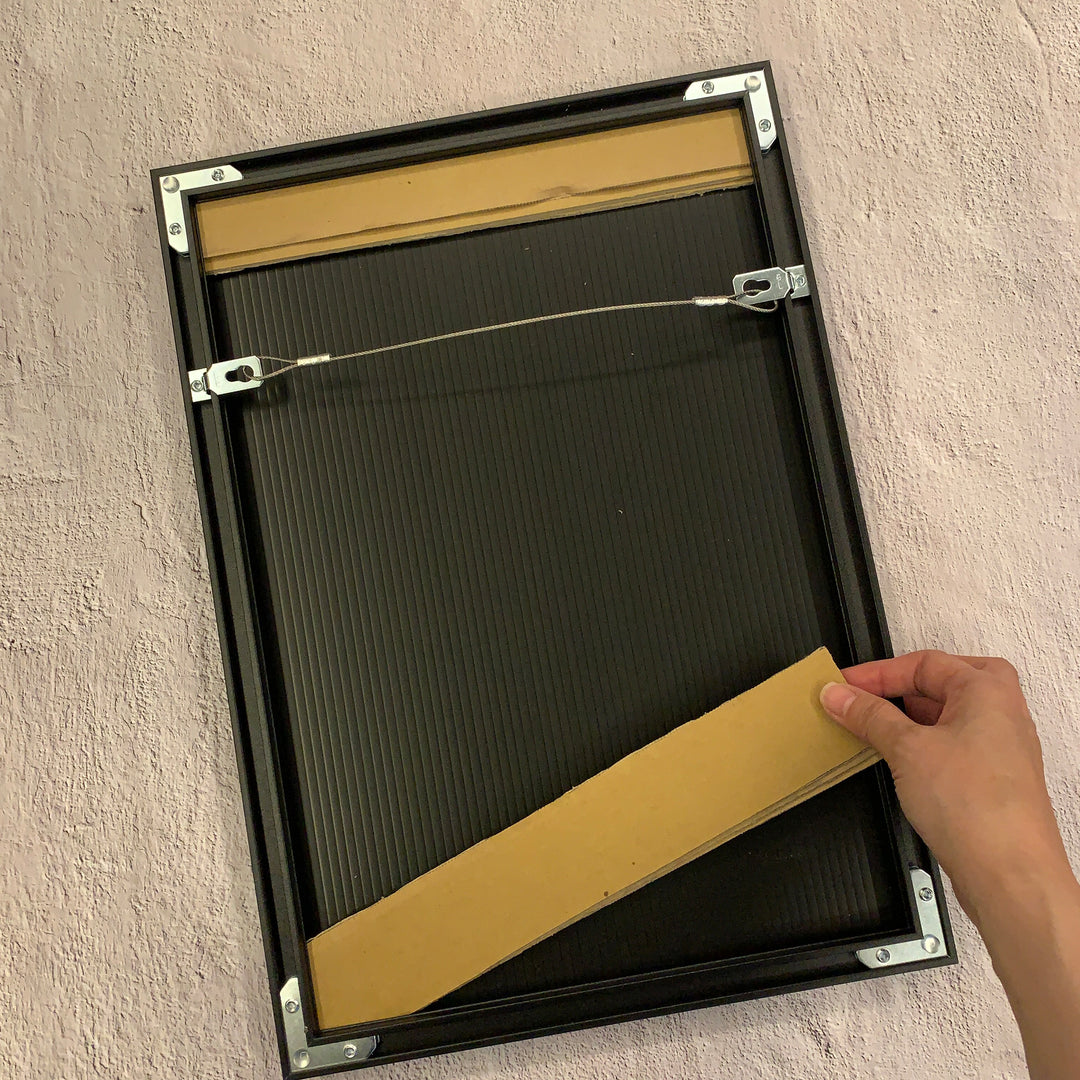
When taking it out, please remove our temporary fixing packaging materials such as plastic bags, cardboard, EPE, etc.
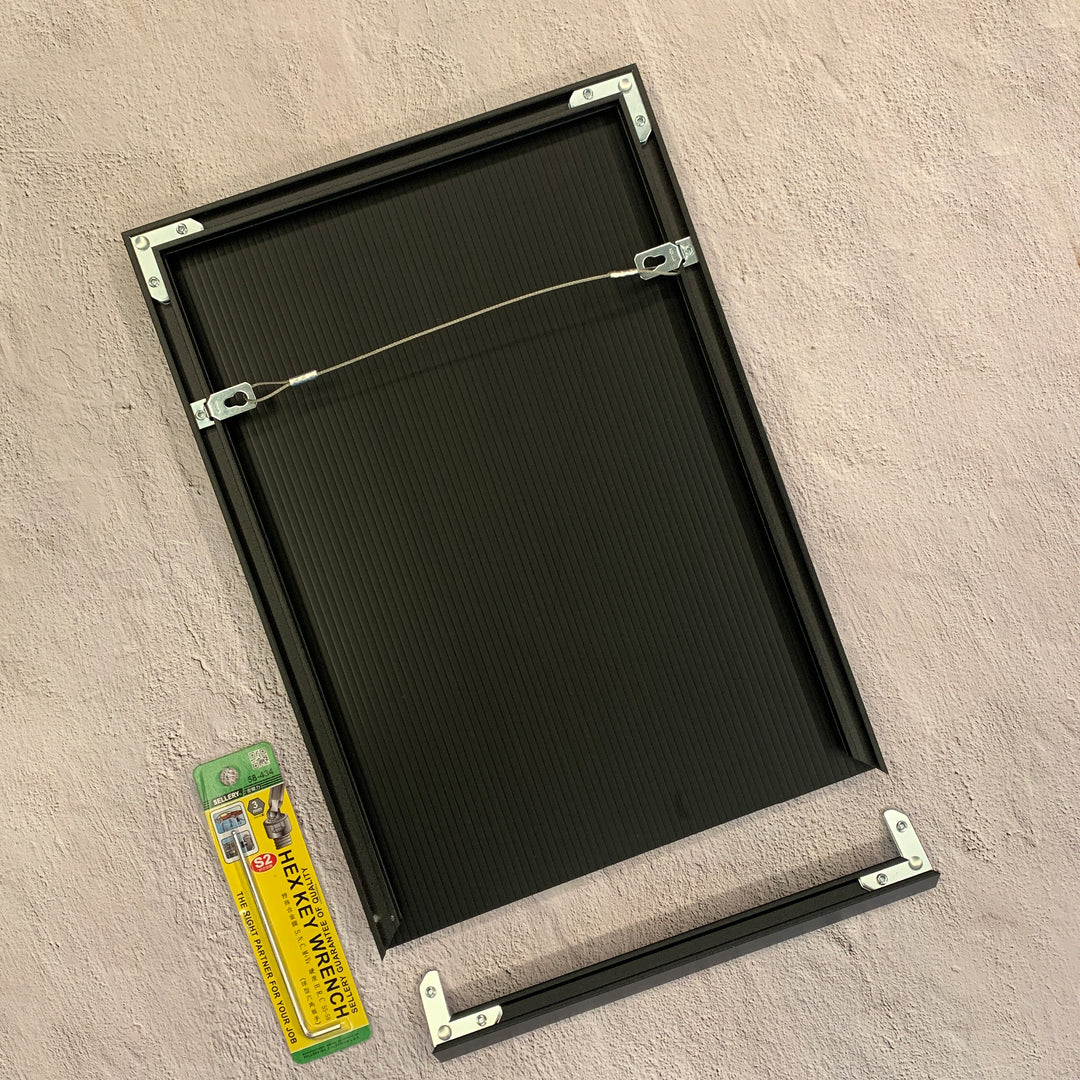
Loosen the L-shaped hardware on one side of the aluminum frame, and take out the side strips (the upper or lower side can be removed for straight width, and the left or right side can be removed for banners)
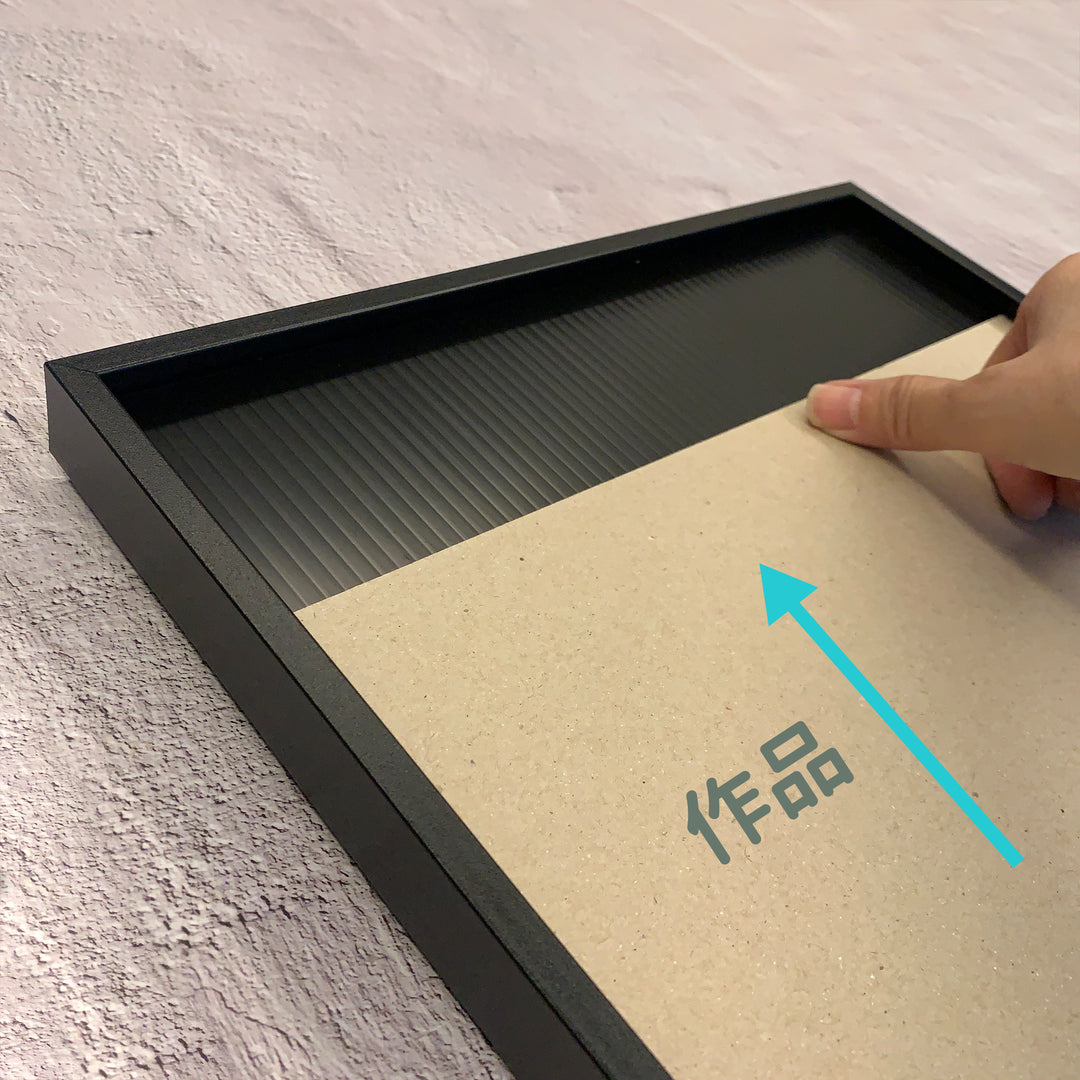
If you purchase a transparent board, please take out the transparent board first
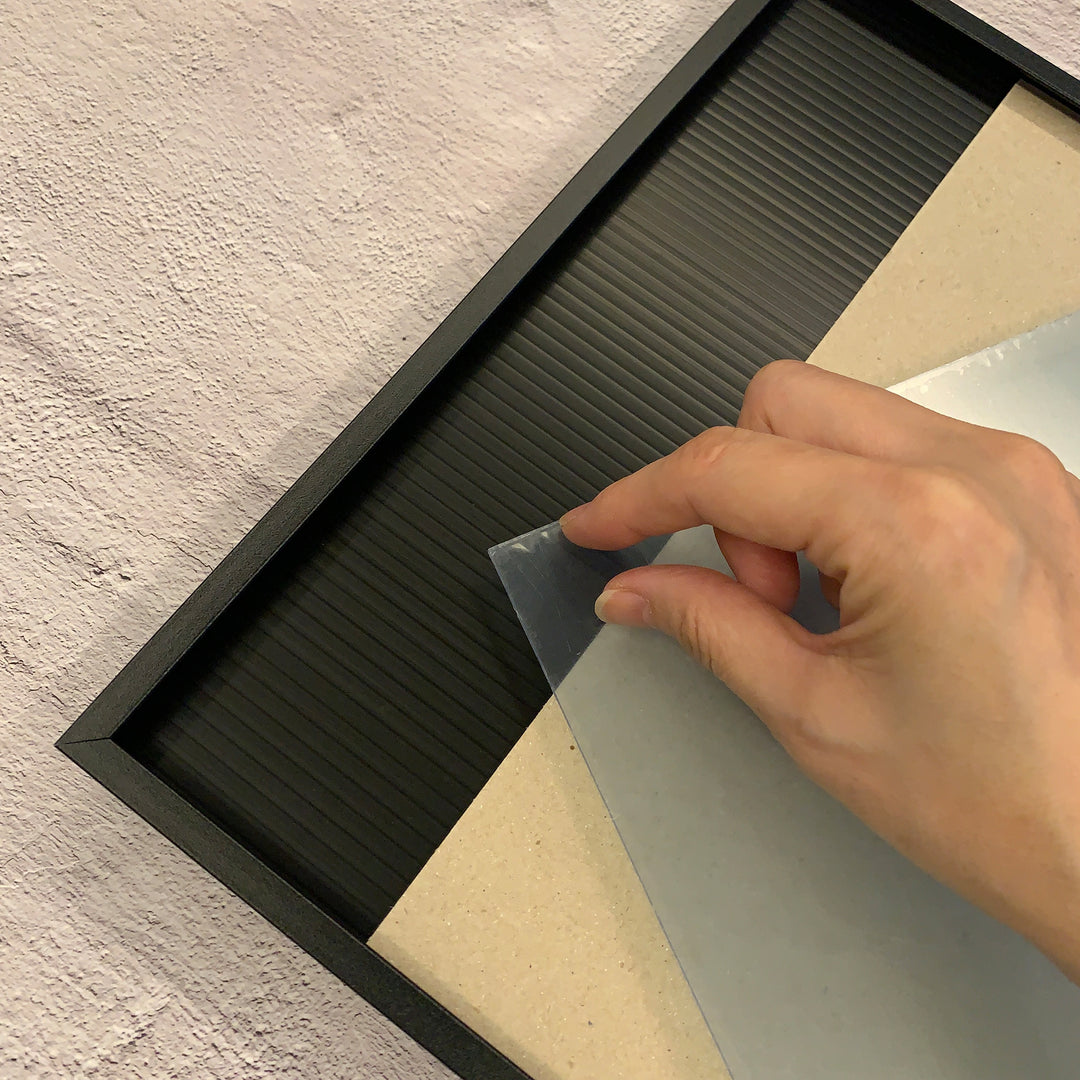
We choose 2mm non-reflective PET transparent board to protect your works
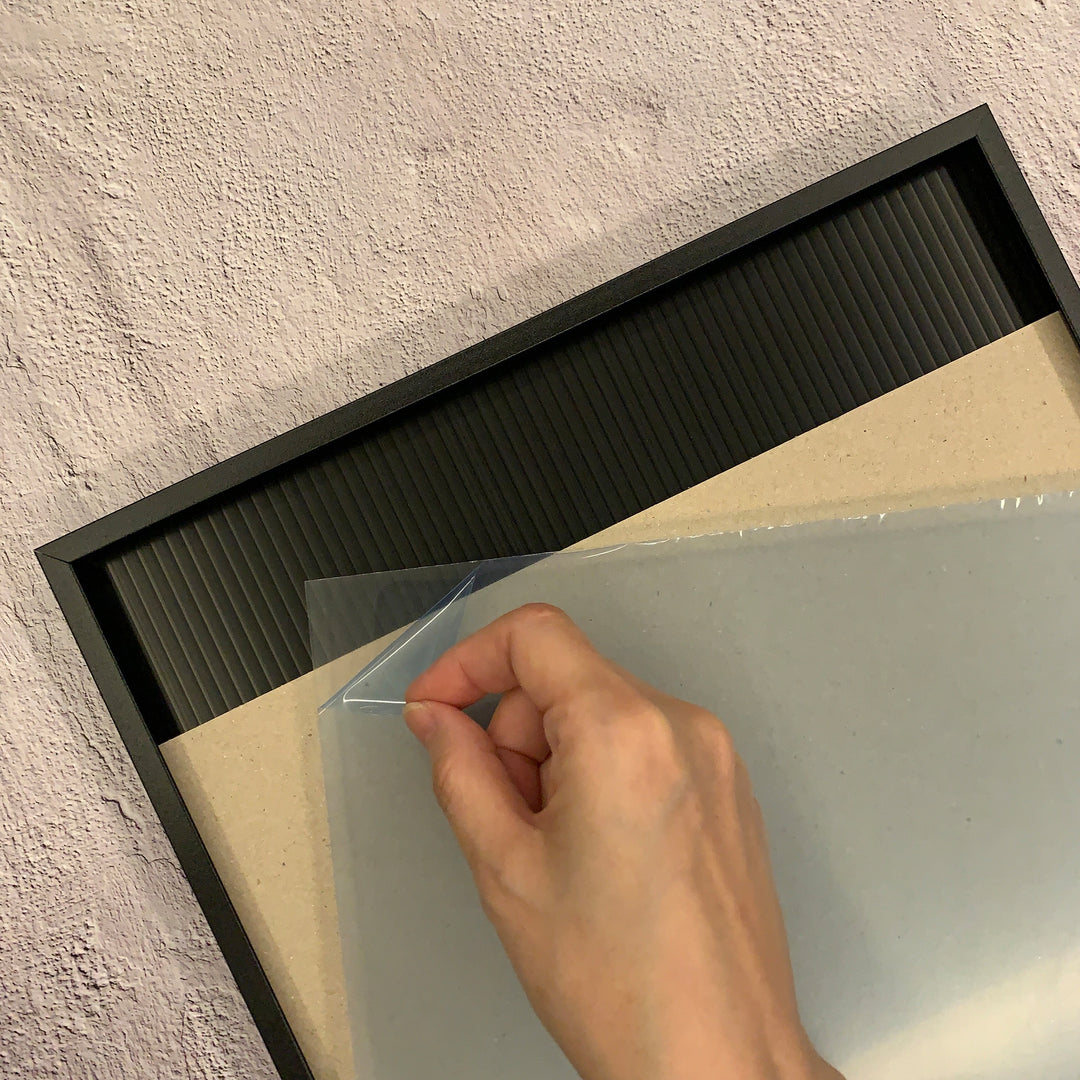
After tearing off the protective film, check that the "non-reflective side" is facing outwards and put the PET transparent plate into the aluminum frame
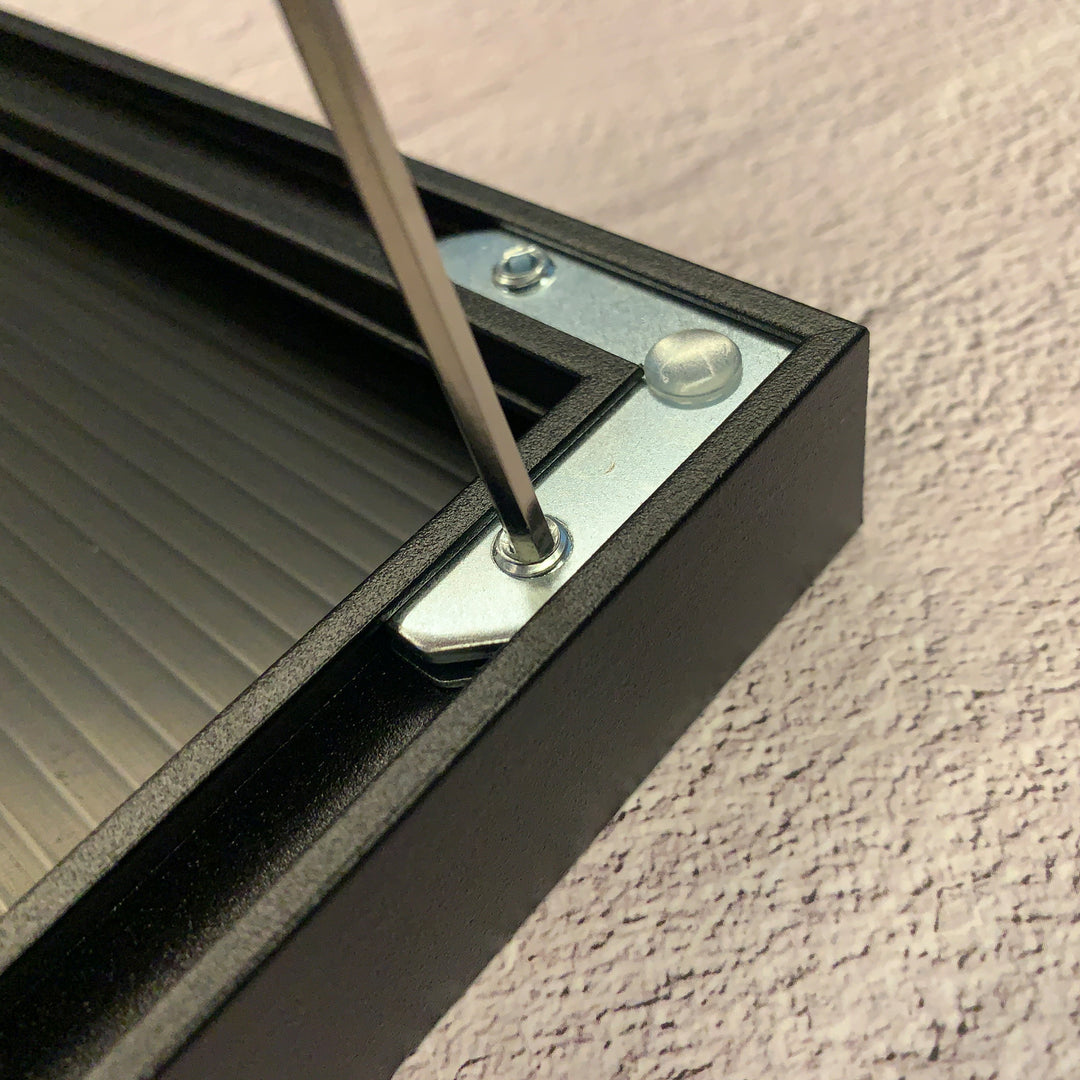
Restore and lock the L-shaped hardware accessories and confirm that the screws on the four sides of the aluminum frame are locked
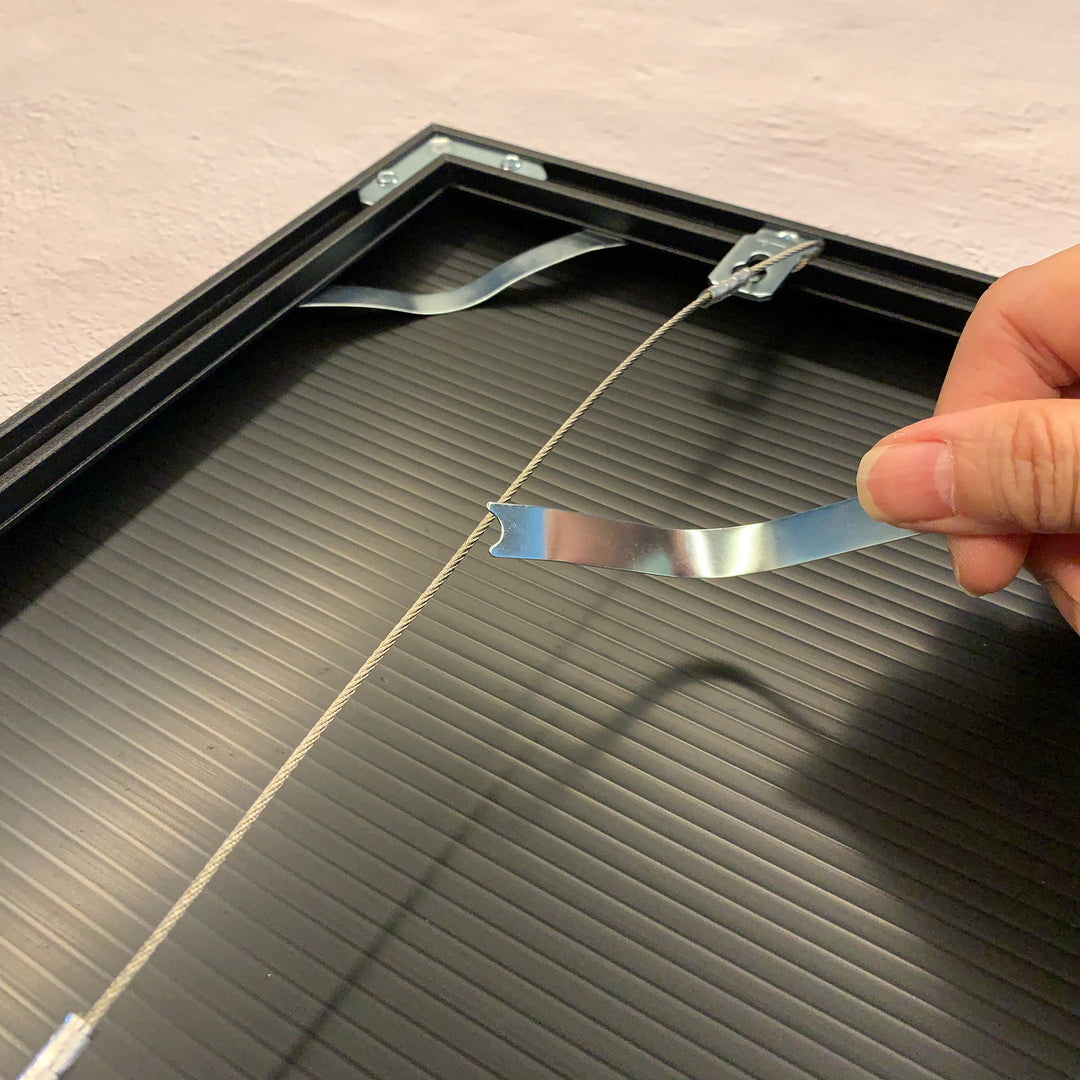
Put the spring bow into the four corners of the aluminum frame according to the direction shown in the figure

Gently push the spring bow into the corner until the spring bow is firmly engaged
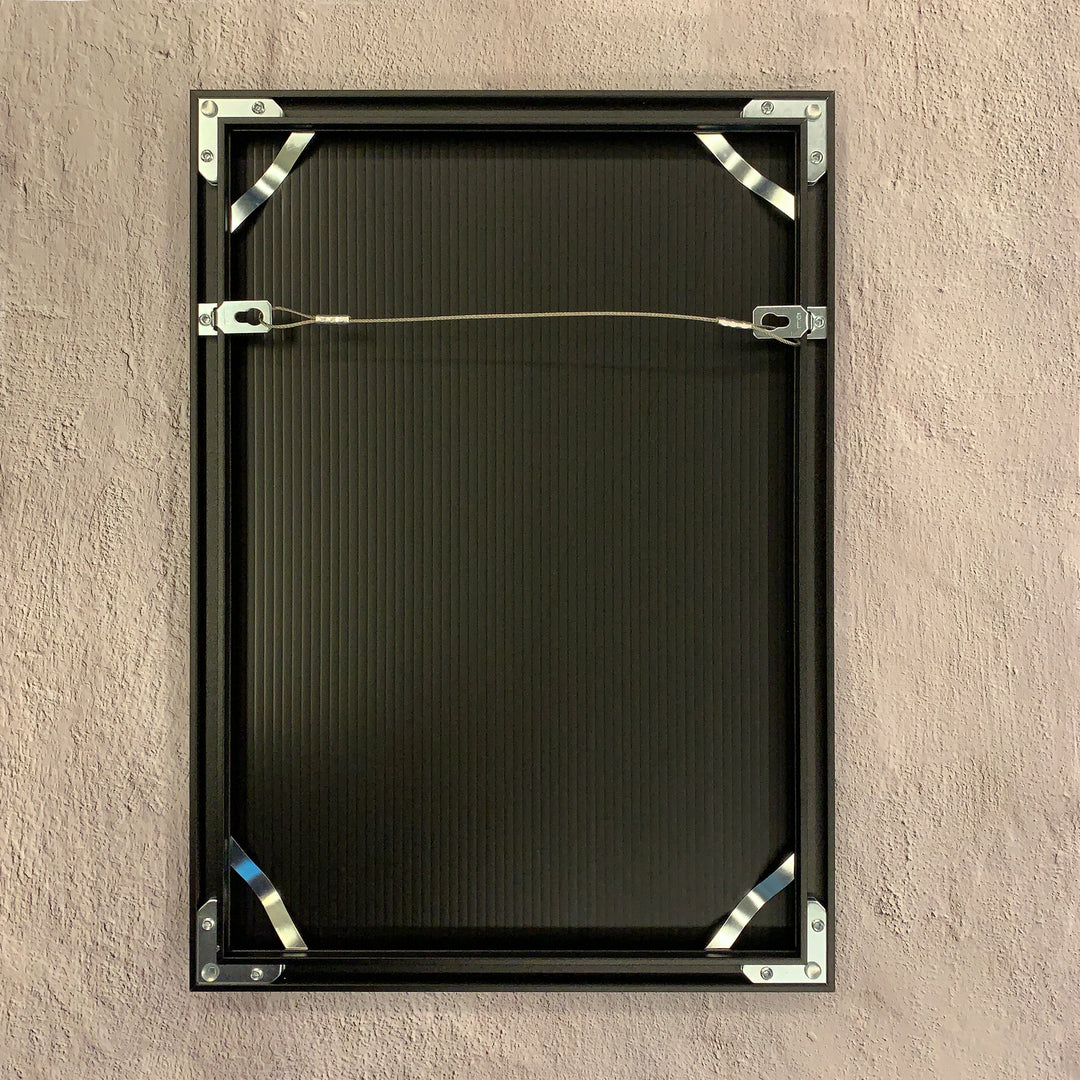
After fixing the spring bow in order, you will complete the work into the frame~
Reminder: Frequently Asked Questions
Don't worry! Simply gently open the back panel and use a dust blower or a clean microfiber cloth to remove dust. It's recommended to do this in a well-lit, well-ventilated area to minimize dust accumulation.
Rest assured. We use highly transparent, deterioration-resistant PET transparent panels that effectively isolate air and moisture. Their stability makes them ideal for long-term preservation of artworks, making them the choice of many professional art galleries.
Instructions for purchasing PET transparent plate
1. Details of transparent acrylic
If you want an extra layer of protection for your photos or paintings, it is recommended that you purchase a transparent acrylic sheet.
- We specially select PET transparent sheets imported from Europe
- Thickness up to 2mm, high quality
- Although transparent panels reflect light, they are not reflective to a significant degree and will not reflect images significantly.
- High transparency
- The material is non-toxic and will not turn yellow
- Environmentally friendly and recyclable materials

2. Correct installation of PET transparent board
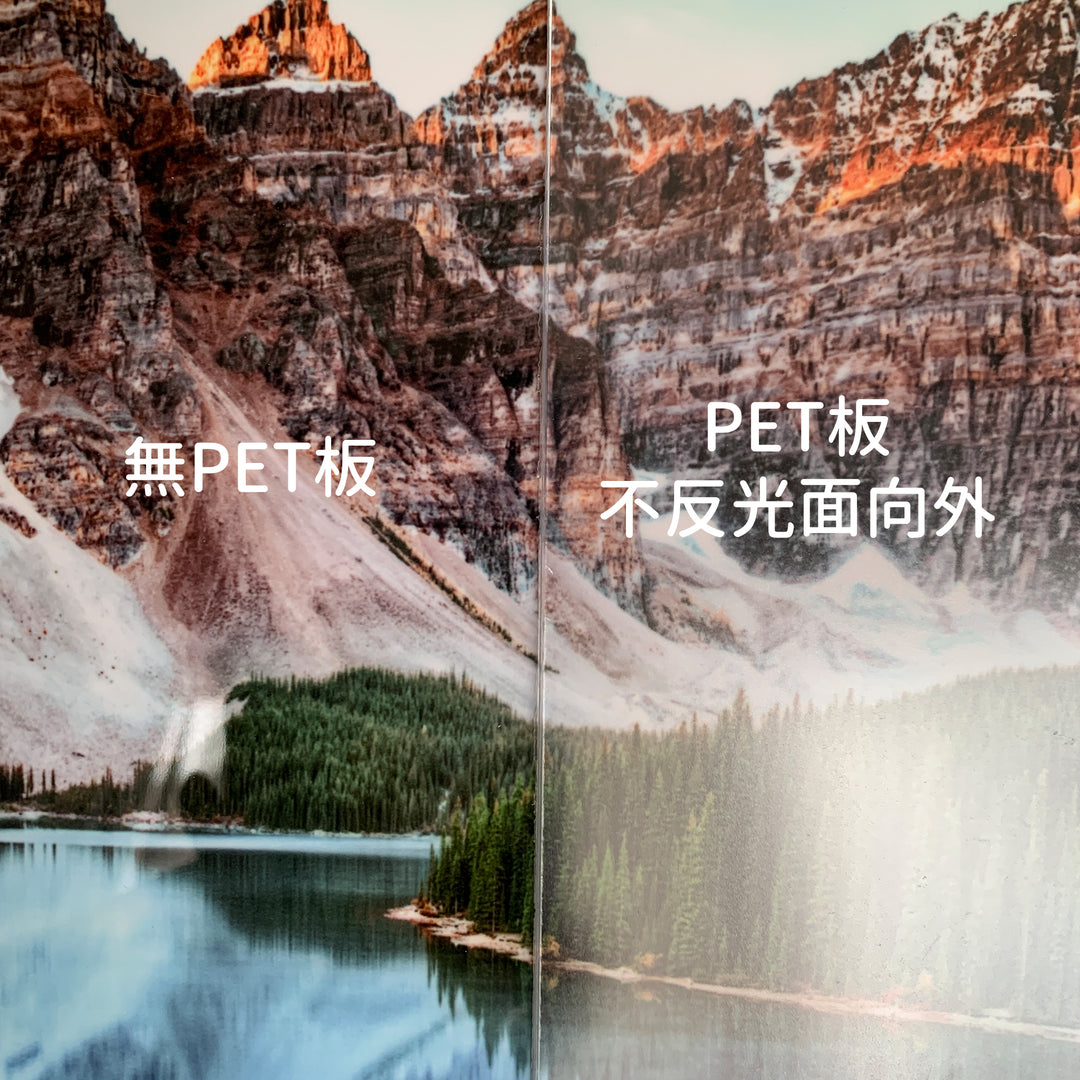
- The correct installation method is to place the non-reflective side of the PET transparent board facing outwards.
- A simple anti-reflection test can be used to confirm whether the PET transparent plate is installed correctly.
- ✅ Correct: Place the non-reflective side of the PET board towards the light source, the light source will diverge
3. Improper installation of PET transparent plate
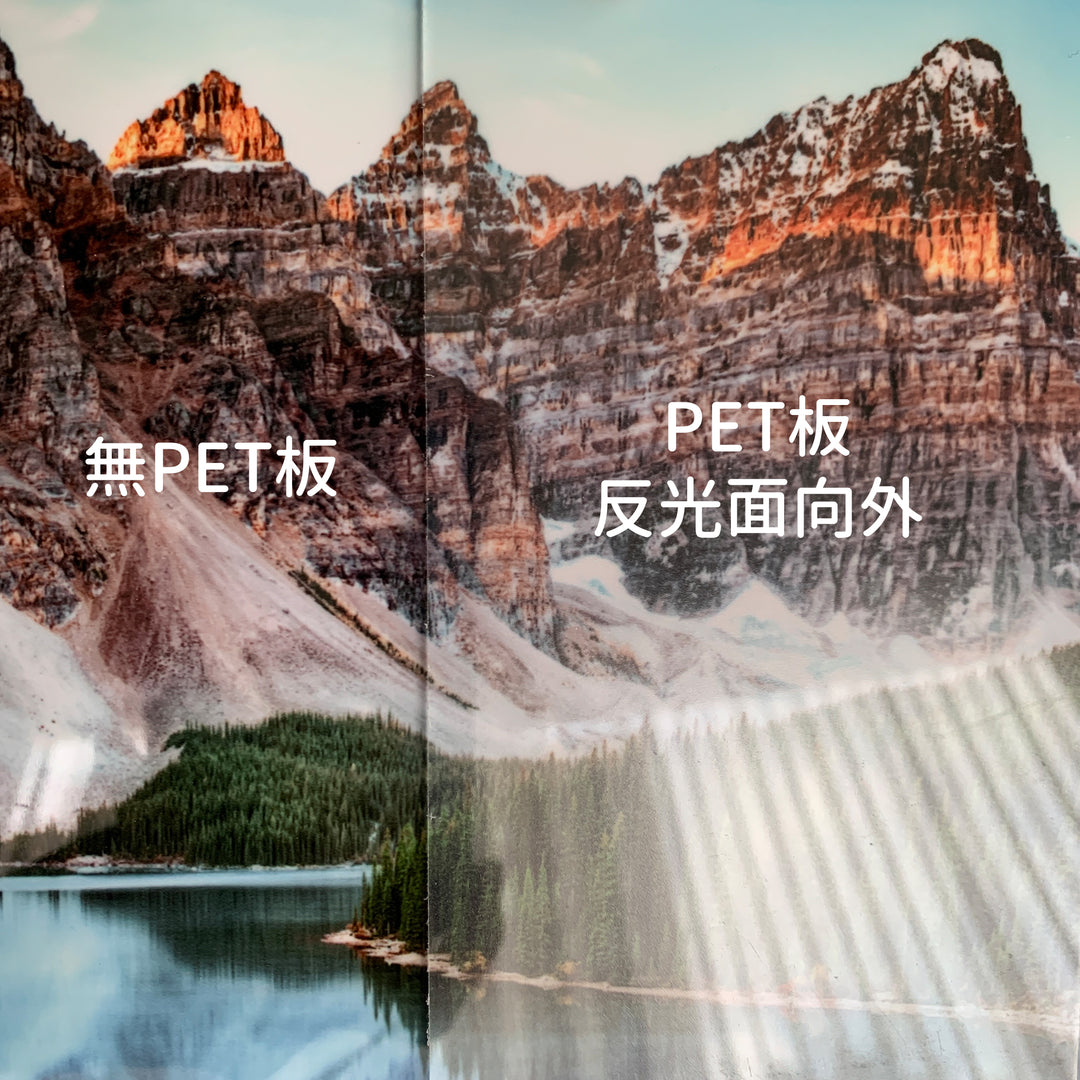
- The correct installation method is to place the non-reflective side of the PET transparent board facing outwards.
- A simple anti-reflection test can be used to confirm whether the PET transparent plate is installed correctly.
- ❌ Incorrect: If the PET transparent plate is installed upside down, the reflection will be obvious
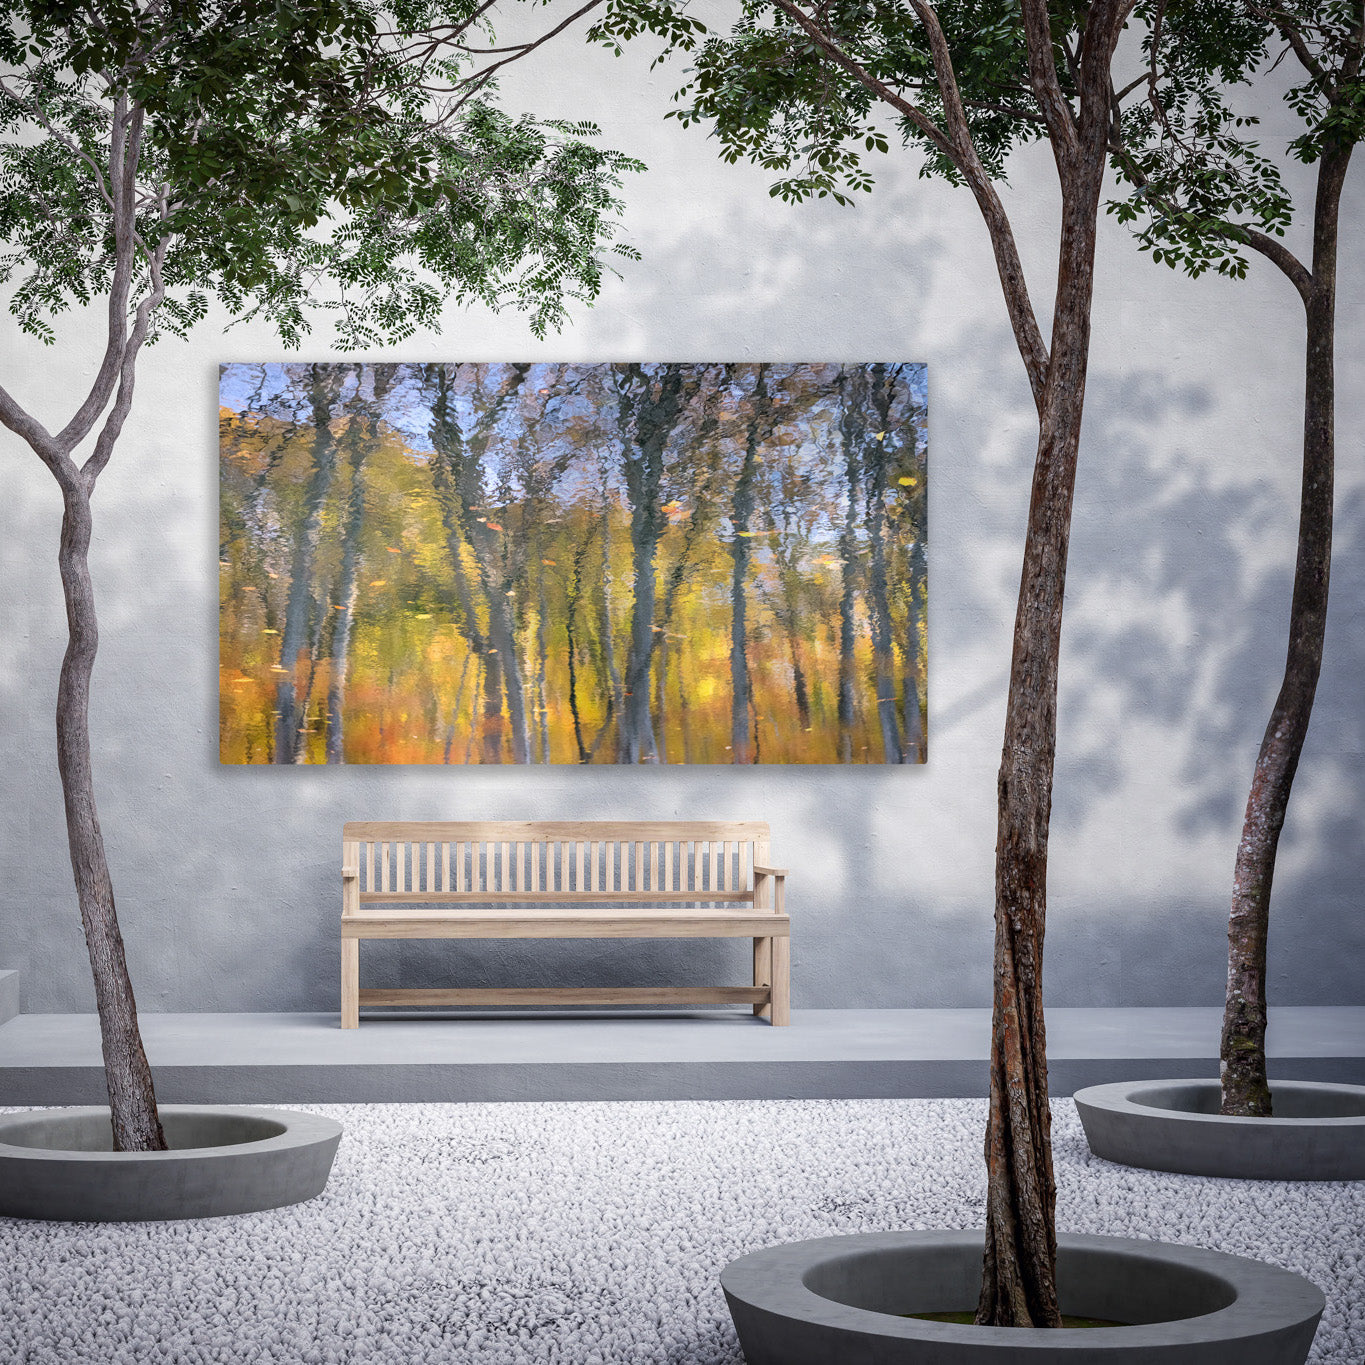
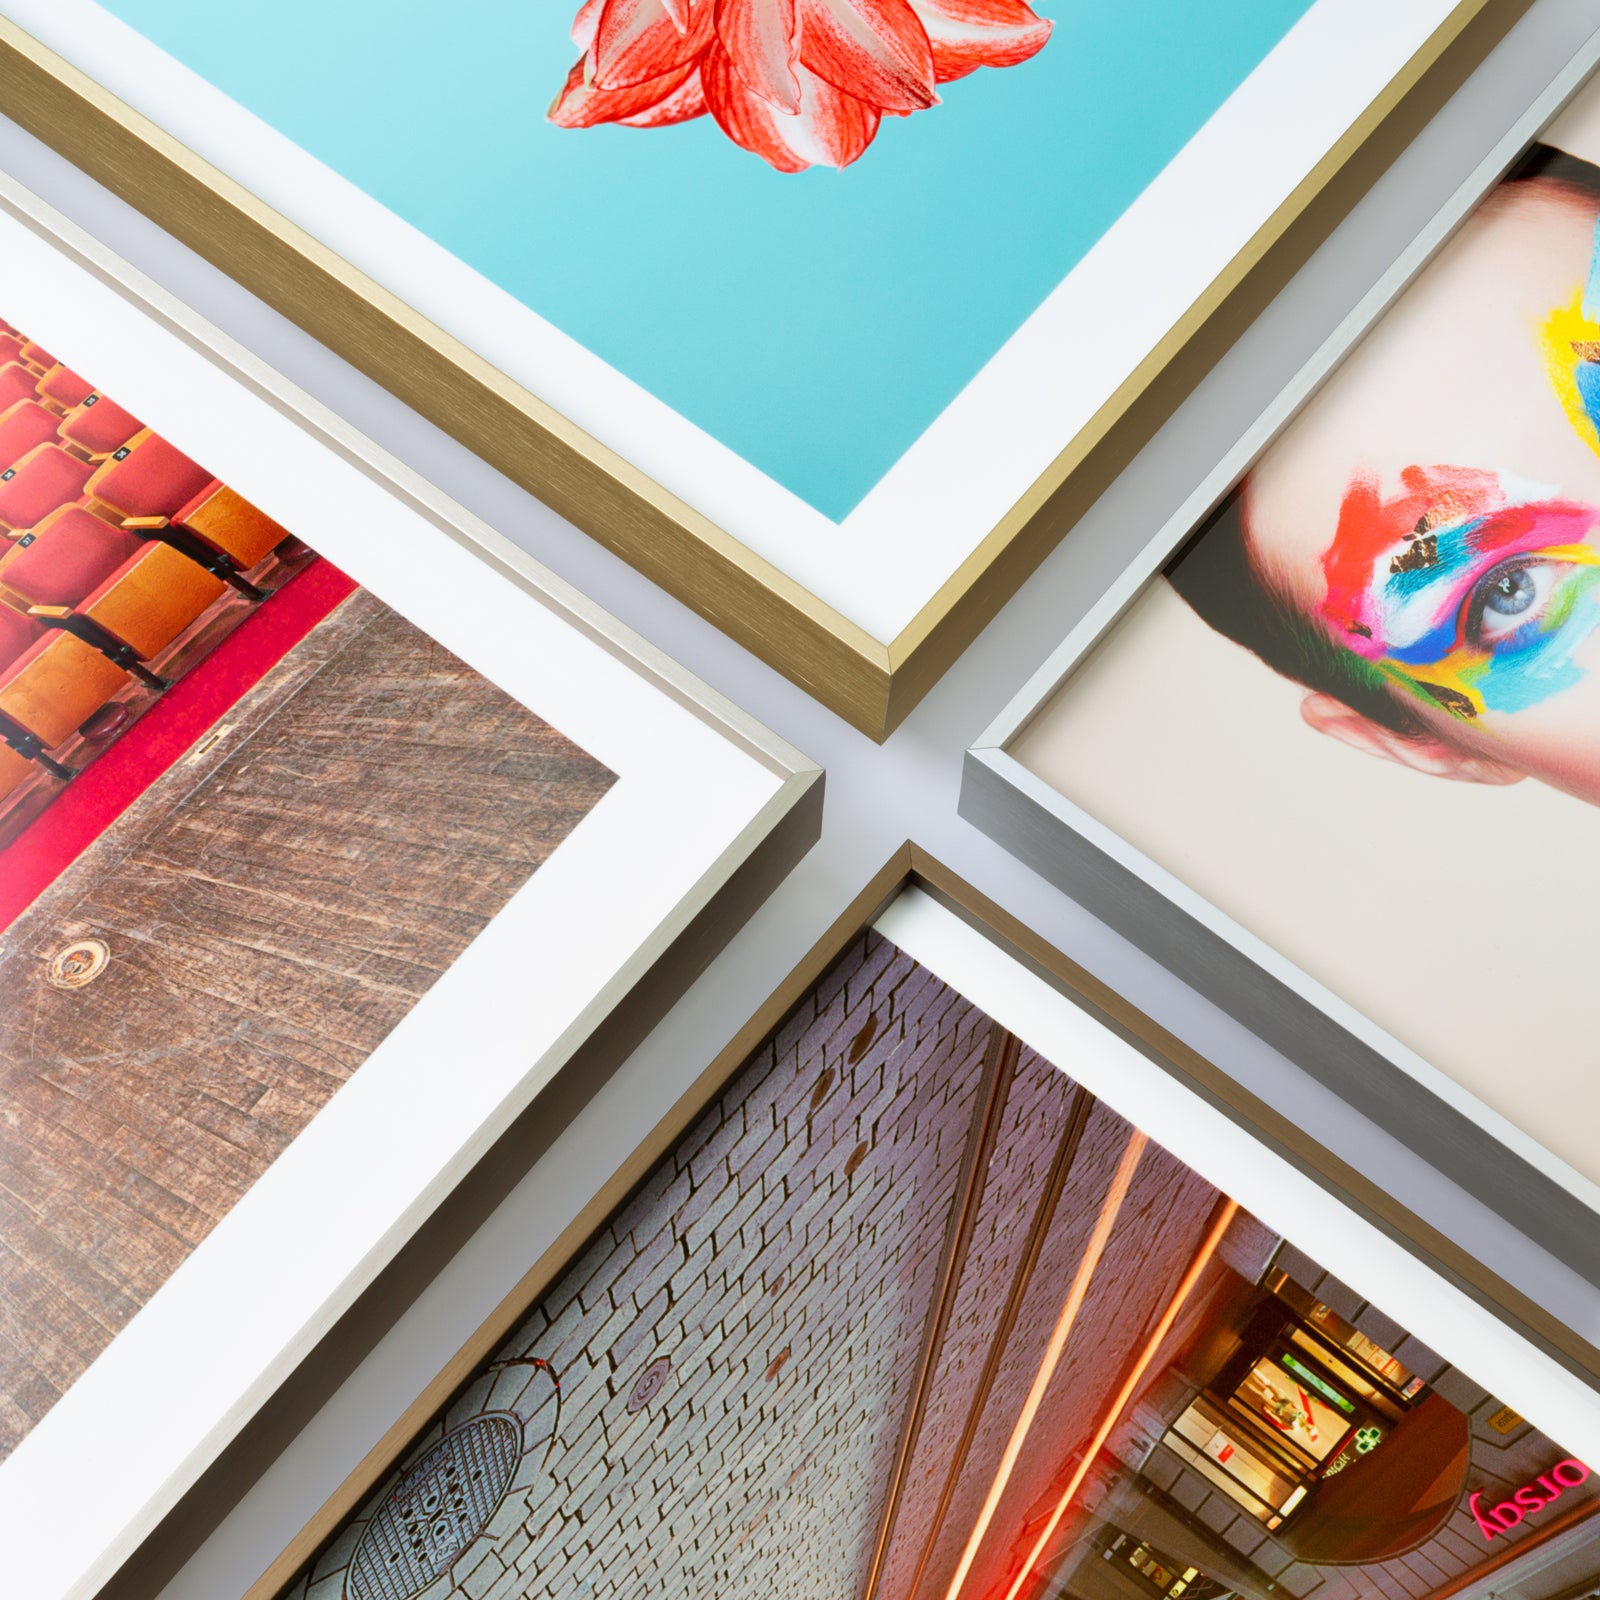
The completed inspiration corner

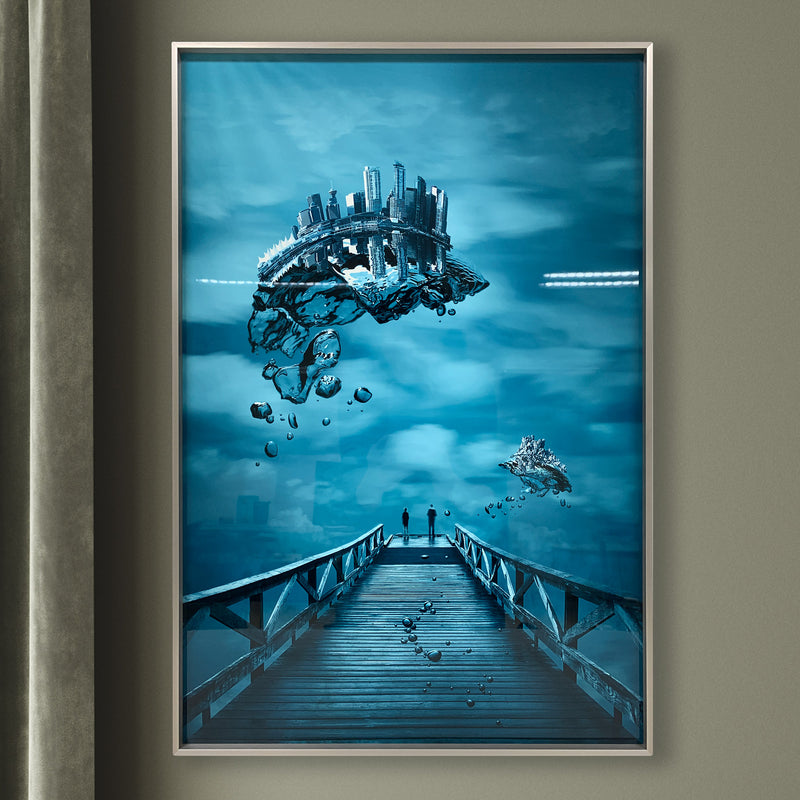
Three-dimensional level, enhance value
The layered look of the classic series aluminum frame adds a touch of artistic elegance to your living room's main wall.
View the details of the classic aluminum frame
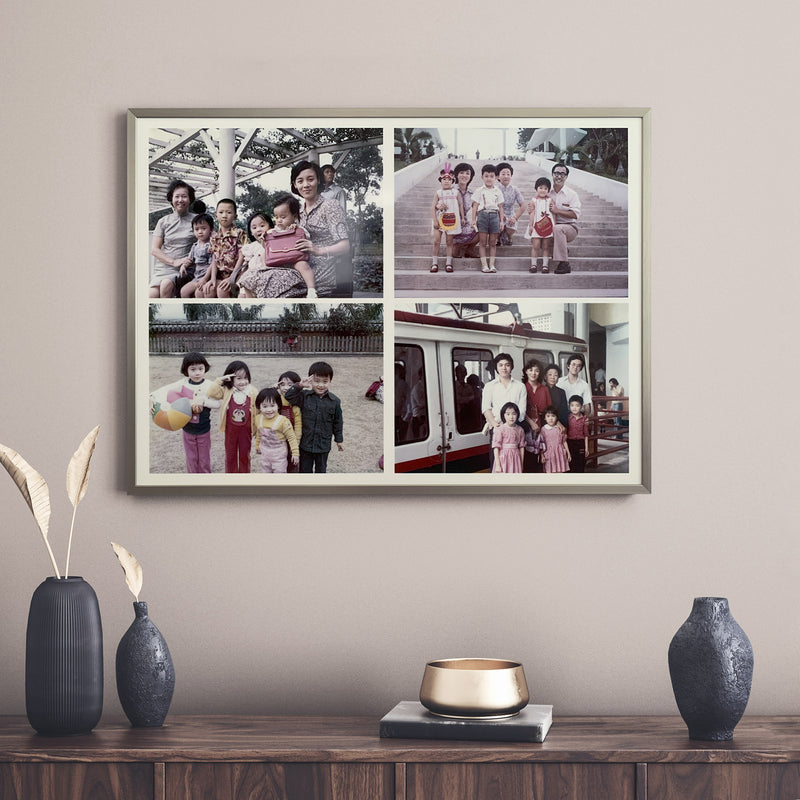
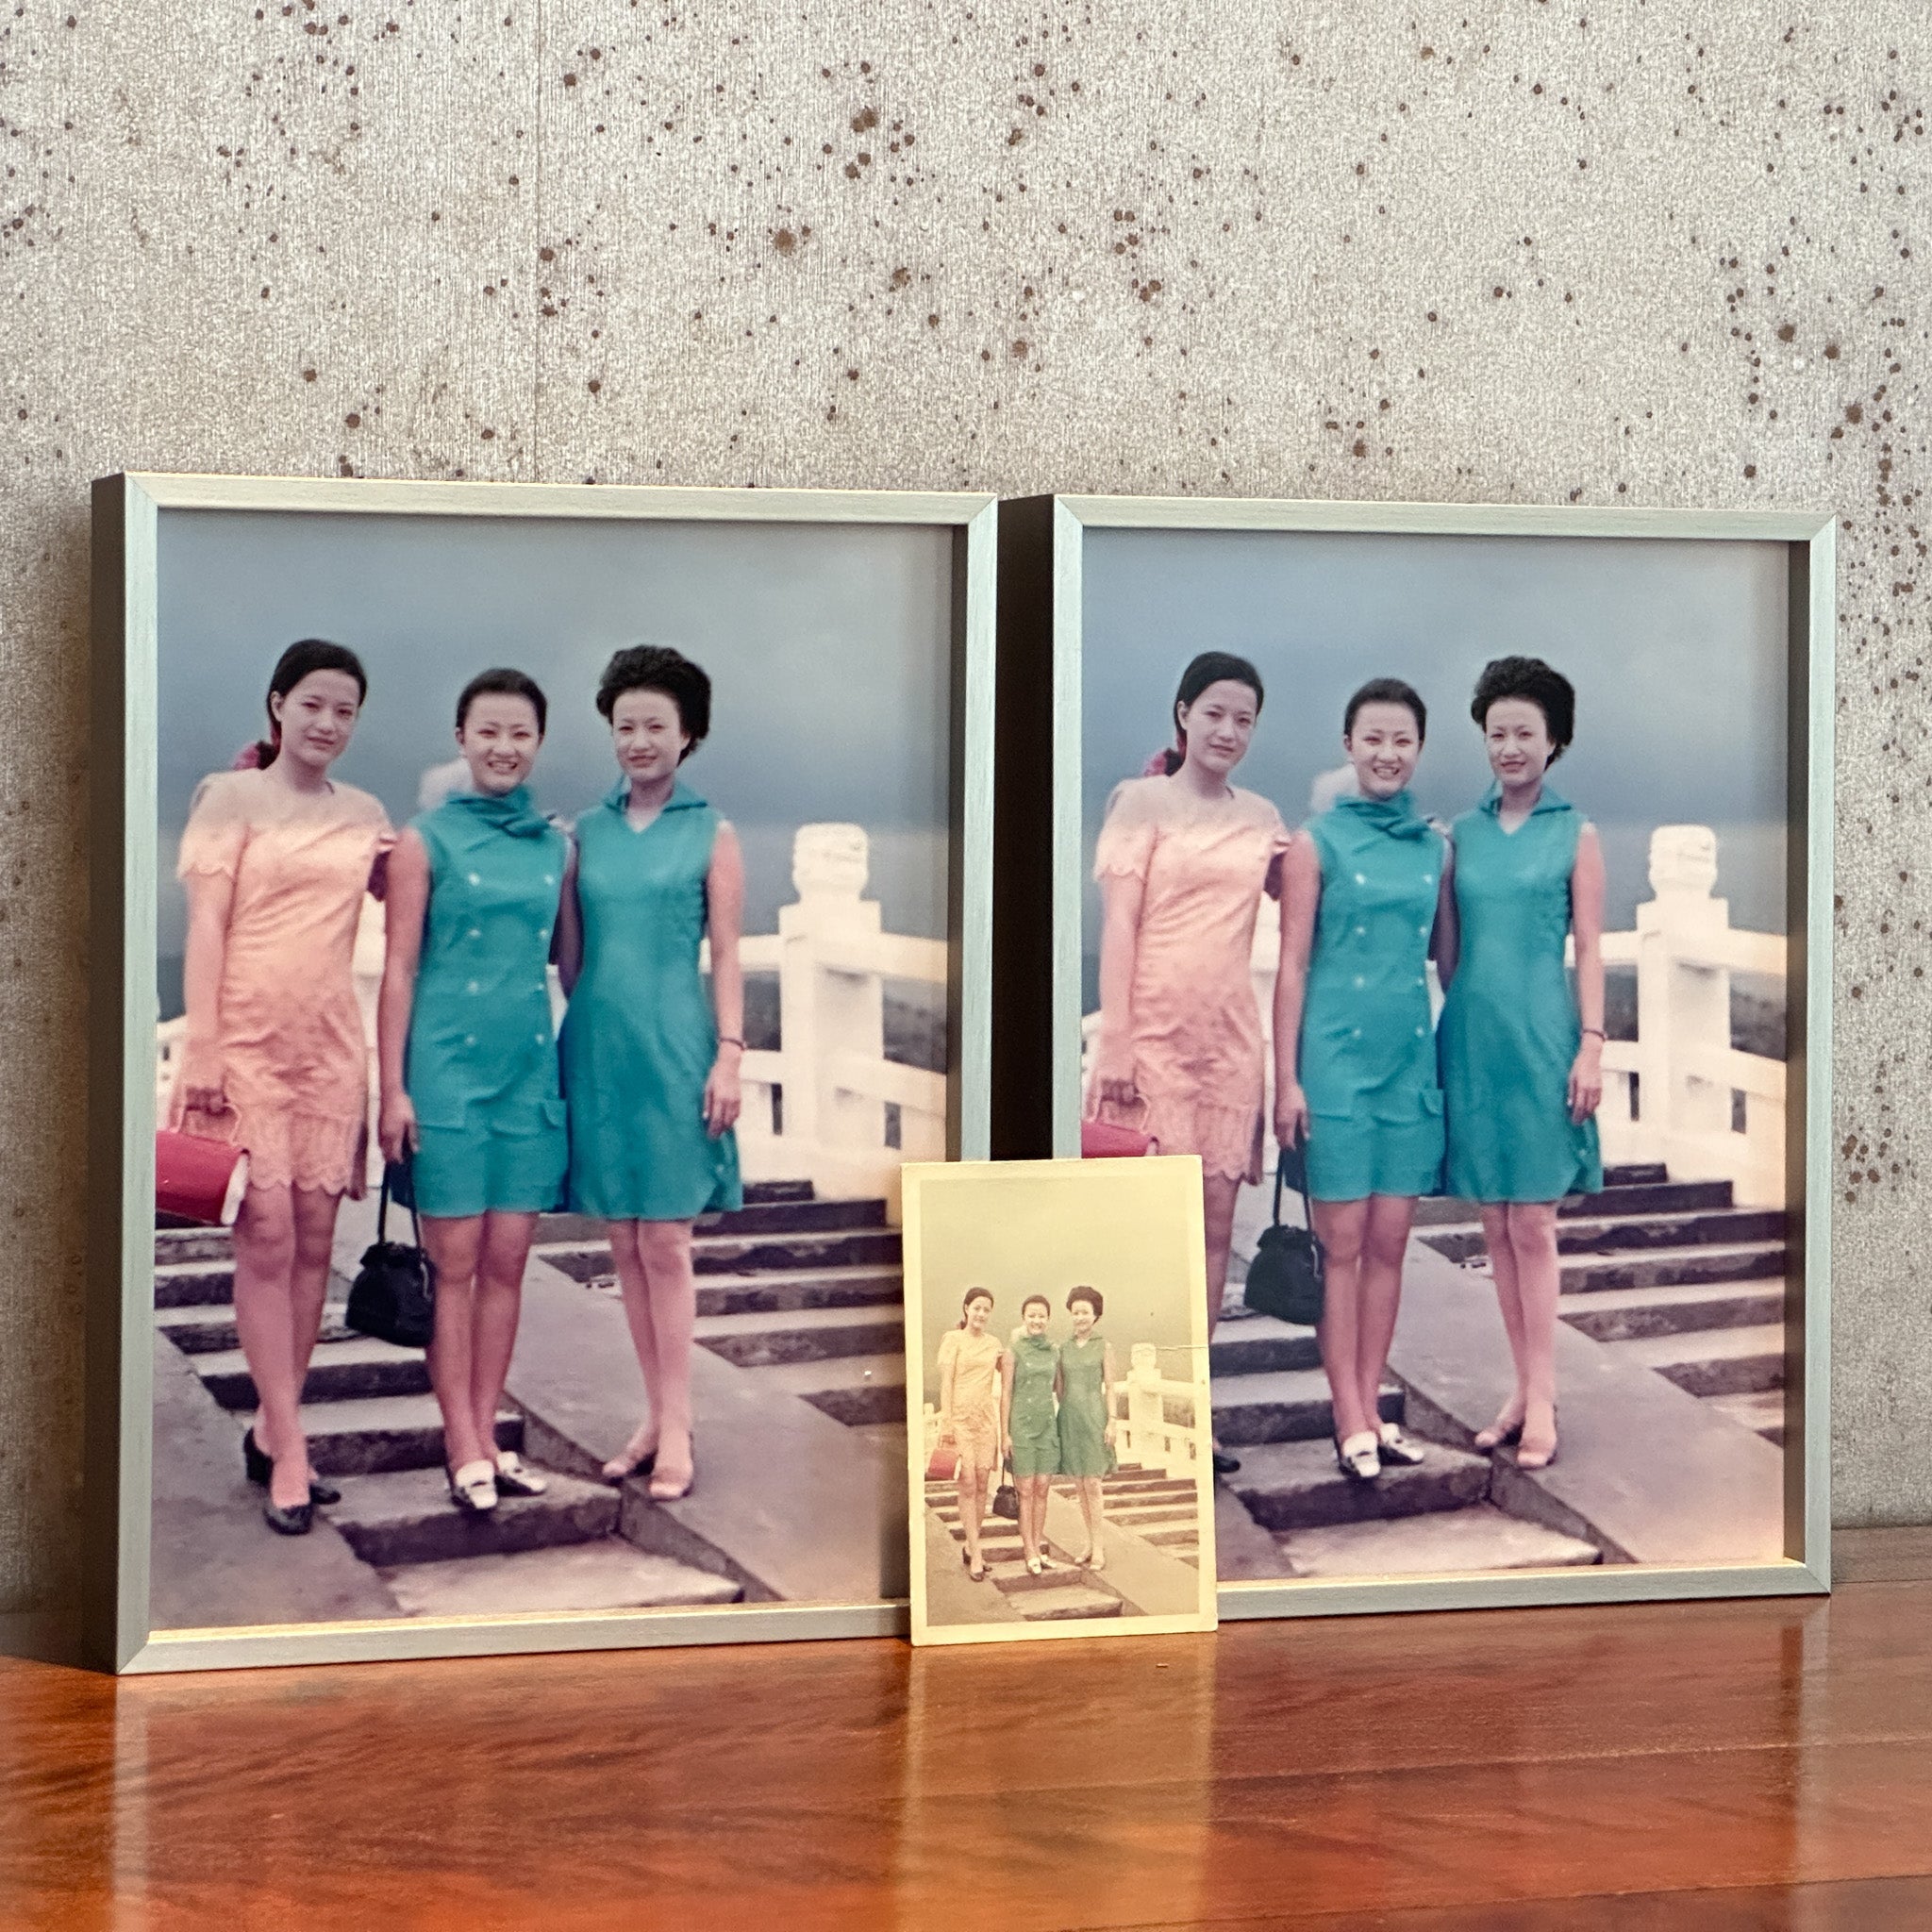
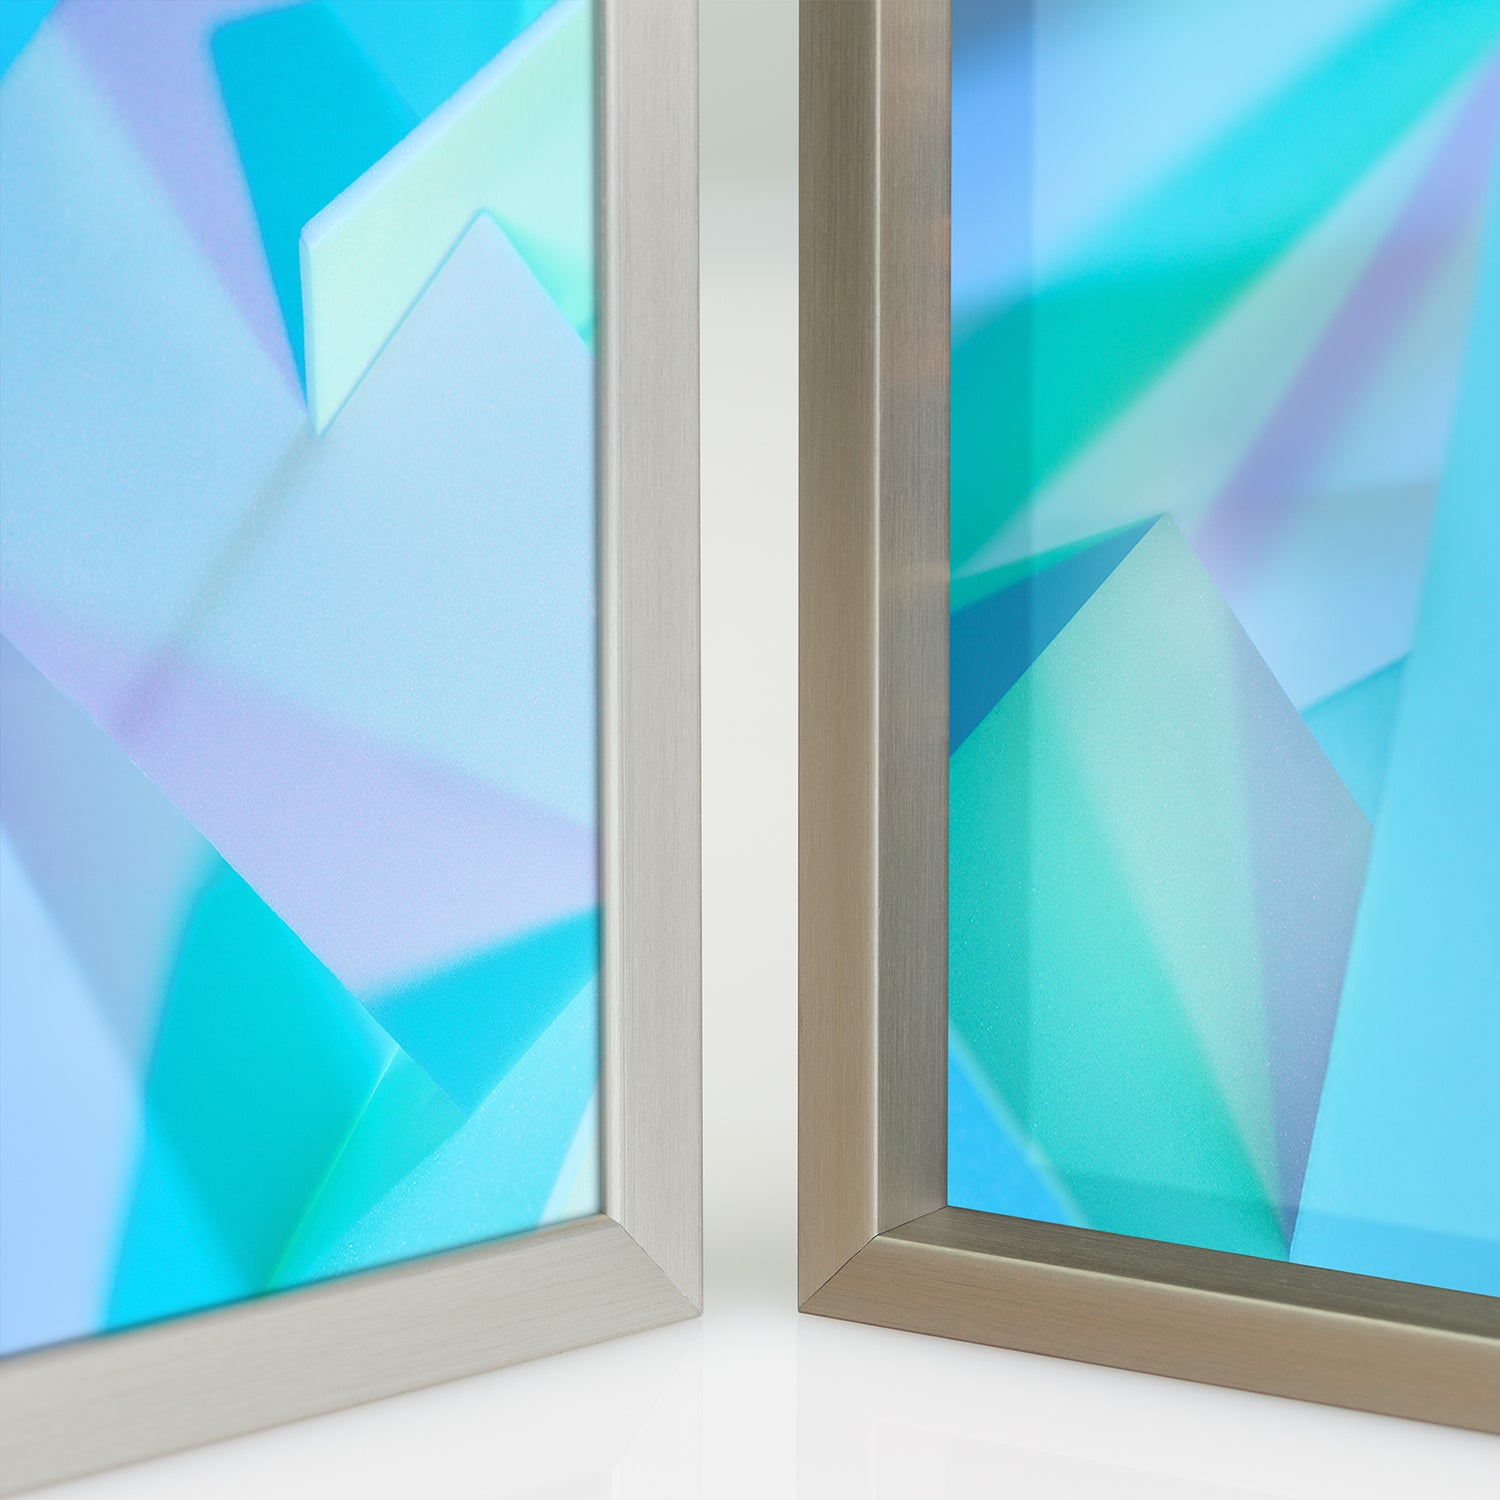
Clean frame, versatile and durable
The sleek, minimalist aluminum frame faithfully complements the work itself, blending into your sophisticated work and home space.
View the details of the simple aluminum frame
Framing your own artwork is so easy and fun.
Not only do you save the time and expense of traditional framing, but you also personally give this creation or memory a home that will last forever. Now, it's your turn to experience this unique quality and sense of accomplishment firsthand.